How to Choose the Right Stitch Spacing for a Leather Project
Learn how leather stitch spacing affects strength and looks, how to match iron size to thickness and thread, and how to test before you commit.
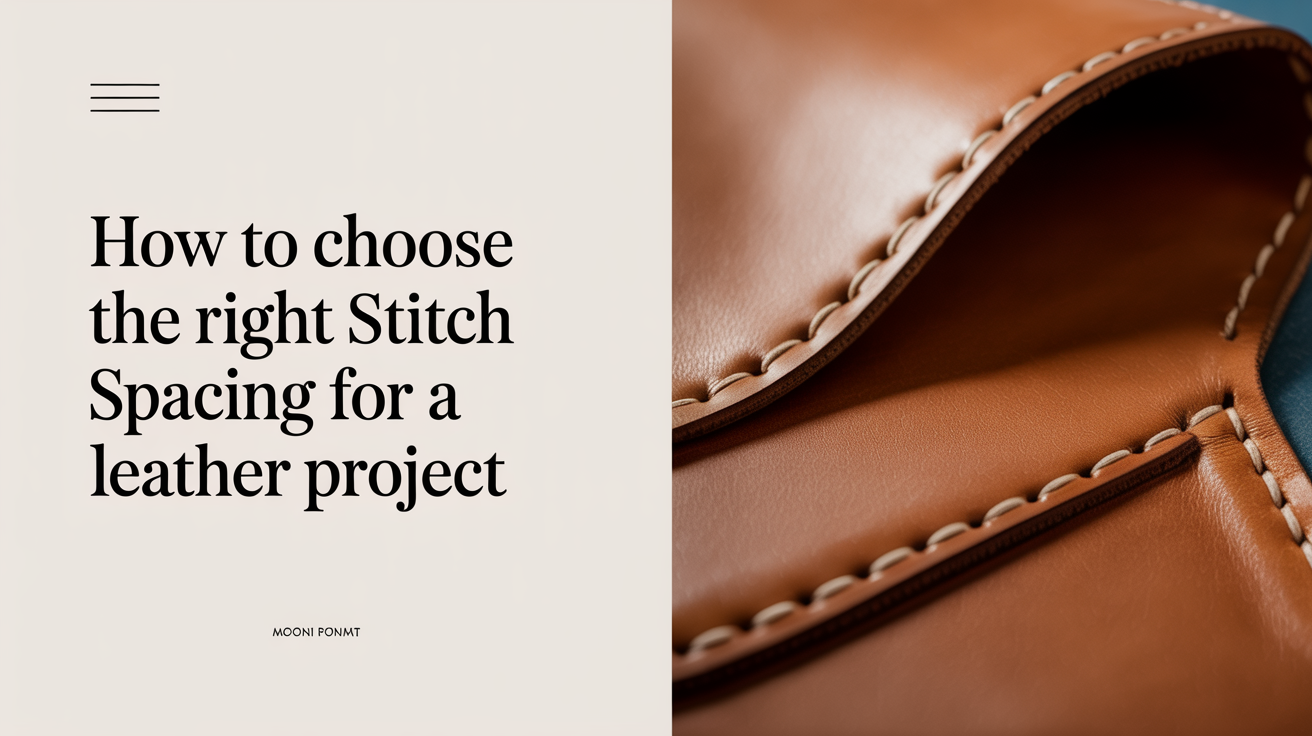
Stand in front of a wall of pricking irons for the first time and you'll notice they all look about the same, until you check the spacing stamped on the handle. One reads 3.5mm, the next 5mm, another 6mm or 8mm. That number is the whole ballgame. Leather stitch spacing decides how strong your seam is, how refined or rugged it looks, and whether your thread even fits through the holes you punch. Get it wrong and a wallet looks clunky, or a belt seam looks flimsy and starts to gap under load.
This guide walks through how spacing works, how it interacts with leather thickness and thread weight, and how to pick a number with some confidence instead of guessing.
What Stitch Spacing Actually Means
Stitch spacing is the distance between the centers of two adjacent holes along a seam, usually given in millimeters on the tool itself. A 4mm iron punches holes 4mm apart. Some suppliers also list stitches per inch (SPI), which is just the same idea measured the other way: an iron with tighter millimeter spacing produces a higher SPI count, and a wider spacing produces a lower one. You'll see both terms used interchangeably in tutorials and tool listings, so it helps to know they describe the same property from opposite directions.
Pricking irons and stitching chisels come in a handful of common spacings, roughly from 2.5mm up to 8mm or more. The smaller the number, the tighter and finer the stitch line looks. The larger the number, the more open and chunky it looks, and the fewer holes you need to punch along a given seam length. Neither end is "correct" on its own. The right spacing depends entirely on what you're making and how it needs to perform.
How Spacing Affects Strength and Look
Tighter spacing puts more stitches into the same length of seam, which spreads the load across more individual points of thread. That can make a seam feel more secure, but only up to a point. Punch holes too close together on thin leather and you're removing so much material between holes that you weaken the seam allowance itself, sometimes to the point where the leather tears between stitches under stress rather than the thread failing. Fine spacing is really about proportion and appearance more than raw strength once you're within the range of typical hobby leathers.
Coarser spacing does the opposite. Fewer, larger holes mean each stitch carries more of the load, and it works well with thicker leather and heavier thread, where each individual stitch is doing serious work. A coarse seam on a belt or a knife sheath doesn't need to hide anything. The visible thread becomes part of the design, almost like top-stitching on denim.
Looks follow function here more than people expect. A card holder stitched at a wide, coarse spacing tends to look out of proportion, like it's wearing a seam meant for a saddle. A heavy tool belt stitched at a delicate, fine spacing can look under-built even if the thread is technically strong enough, because the eye reads fine stitching as decorative rather than structural. Matching spacing to the scale of the piece is as much about visual balance as it is about physical load.
Matching Iron Size to Leather Thickness and Thread Weight
The three variables, leather thickness, thread weight, and hole spacing, all need to agree with each other, and thickness is usually the anchor you start from.
Thin leather, in the range used for card holders, small pouches, and linings, generally pairs with finer spacing and a correspondingly thin thread. A fine iron on thin leather keeps the stitch line proportional and avoids putting so many holes through a small piece that it perforates like a stamp.
Mid-weight leather, the range most wallets, small bags, and journal covers are built from, sits comfortably with a mid-range iron and a mid-weight thread. This is the spacing most beginners reach for first because it's forgiving and works across a wide range of projects.
Heavy leather, the kind used for belts, holsters, and structural bag panels, wants wider spacing and thicker thread. If you try to run heavy thread through holes punched with a fine iron, you'll fight the needle every stitch, and the thread will bunch or refuse to seat flush. Go the other way, thin thread through widely spaced holes meant for heavy cord, and the finished seam looks sparse and can look loose even when it's technically sound.
If you're still assembling a tool kit and aren't sure which iron sizes are worth owning first, our pricking iron and stitching chisel buying guide breaks down which one or two spacings cover the most projects. And once you know your spacing, thread weight follows from it. Our thread guide for hand stitching leather goes into which thicknesses pair naturally with which iron sizes.
Fine vs Coarse Stitching: Matching Spacing to the Project
It helps to think in terms of project categories rather than trying to memorize exact numbers, since tool spacings vary a little between brands anyway.
Small, delicate items. Card holders, coin pouches, and slim accessories usually call for the finest spacing you're comfortable working with. The scale of the piece is small, so a wide stitch would dominate the whole design. Fine spacing also tends to sit better on curved or tight seams where a coarse iron struggles to follow the line cleanly.
Everyday carry pieces. Wallets, small bags, phone cases, and similar mid-size goods do well with a middle-ground spacing. It reads as clean and intentional without looking fragile, and it's flexible enough to handle both straight runs and gentle curves.
Heavy duty and structural pieces. Belts, dog leashes, tool holsters, and knife sheaths benefit from coarser spacing paired with heavier thread. These pieces see real mechanical stress, repeated flexing, pulling, weight bearing, and a widely spaced seam with thick thread holds up to that kind of use better than a delicate one would. The bolder look also tends to suit these more utilitarian pieces anyway.
There's no strict rule that a given project must use one exact spacing. Plenty of makers stitch wallets at a slightly finer or coarser setting than their neighbor and both results look fine. What matters more is internal consistency: keep the spacing, thread weight, and leather thickness all in the same general category, and the seam will look and perform the way you expect.
Testing Spacing on Scrap Before You Commit
Before you prick a single hole into your good leather, run a test seam on scrap cut from the same hide, or at least the same thickness. This matters for a few reasons that aren't obvious until you've been burned by skipping it.
First, it lets you check that your thread actually threads through the holes without excessive force or, at the other extreme, without rattling around loosely. Second, it shows you how the spacing looks once it's actually stitched, not just how the empty holes look on their own; a spacing that seems fine on paper can look too tight or too open once thread is pulled through and set. Third, it gives you a chance to check your hole marking and punching technique before it matters. If your holes come out uneven or angled, that shows up clearly in a test strip. Our guide on marking and punching even stitching holes covers how to keep spacing consistent along a curved or long seam, which is where most beginners run into trouble.
Once your test seam looks right, stitch it using the actual saddle stitch technique you plan to use on the finished piece, since the stitch method itself affects how the spacing reads. If you haven't nailed that technique yet, our walkthrough on the saddle stitch explained covers the two-needle method from the ground up. Testing on scrap costs you a few minutes and a strip of throwaway leather. Redoing a finished seam on a piece you've already cut, dyed, and assembled costs a lot more than that.
Frequently Asked Questions
What stitch spacing should a beginner start with?
A mid-range spacing is the most forgiving place to start, since it works across wallets, small bags, and most everyday projects without looking out of place. You can add a finer or coarser iron to your kit later once you know which projects you gravitate toward.
Can I use the same pricking iron for every project?
You can, but the results will look mismatched across different project types. A single mid-range iron will make small items look a bit heavy and large items look a bit dainty. Most makers end up with at least two spacings, one fine and one coarse, once they've made a handful of different pieces.
Does stitch spacing affect how much thread I need?
Yes. Finer spacing means more holes per inch, which means more stitches and more thread consumed along the same seam length. When estimating thread for a project, always base the calculation on the actual spacing you're using rather than a rough guess, since the difference between a fine and coarse iron adds up over a long seam.
Is a finer spacing always stronger?
Not necessarily. Very fine spacing on thin leather can weaken the seam allowance by removing too much material between holes. Strength comes from matching spacing, thread weight, and leather thickness to each other, not from making the spacing as tight as possible.
How do I know if my chosen spacing is too coarse for a piece?
If the stitches look sparse relative to the size of the item, or if the leather between holes feels like it's bearing awkward gaps under handling, the spacing is probably too wide for that piece. Scaling down to the next iron size usually solves it.