Pricking Irons vs Stitching Chisels: What to Buy First
Pricking irons vs stitching chisels explained for beginners: how each tool works, which spacing to choose, and what to buy first.
If you're standing at the checkout page wondering which hole-making tool to buy first, the short answer is: diamond stitching chisels for beginners, pricking irons once you want finer, traditional work. The longer answer depends on your leather thickness, your patience for learning a two-step process, and what kind of stitching lines you want.
What Each Tool Actually Does
This is where most beginner guides muddy the water, so let's be precise.
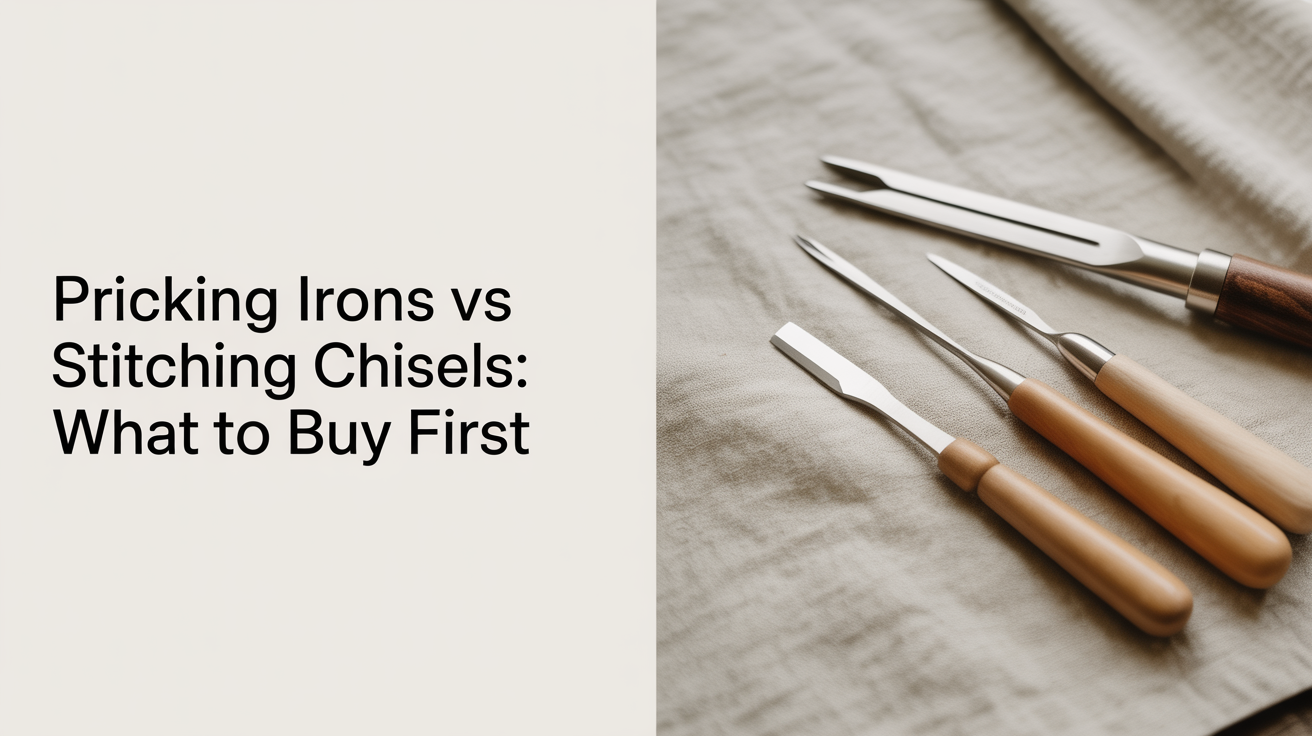
Pricking Irons
A pricking iron looks like a comb of tines mounted on a handle. You press it against the leather and strike it with a mallet. The tines dent and mark the surface, leaving angled holes that are too shallow to stitch through. You then follow each mark with a stitching awl to pierce the leather fully.
That two-step process is intentional. It comes out of European saddlery tradition, where the awl creates a precise slanted hole that the thread fills snugly. The result is a slightly angled stitch that lies flat, compresses when the thread is pulled, and seats itself almost flush with the surface. Good pricking irons leave tine marks spaced at consistent intervals, and experienced leatherworkers use them to run stitching lines on harness leather, bridle leather, and fine veg-tan projects.
The skill ceiling is real, though. Using an awl cleanly takes practice. Push at the wrong angle and your stitching holes wander. Push too hard and you tear the fibers. For a beginner doing their first wallet or card holder, the learning curve is an extra obstacle.
Diamond (Stitching) Chisels
Diamond chisels punch all the way through in a single hit. The tines are diamond-shaped in cross-section, which shears the fibers rather than just spreading them, and the hole is ready to stitch immediately. No awl follow-up required.
That "ready to stitch" quality is why most leathercraft instructors point beginners toward diamond chisels. You mallet the tool through the leather onto a firm surface (a poundo board or a piece of dense rubber works well), and the holes come out clean and consistent on both sides. Less setup, fewer variables.
The trade-off: diamond chisels produce a rounder, slightly larger hole compared to the very fine slant of a pricking iron, and on thin or delicate leather the larger tine can occasionally create a slightly coarser-looking entry point. On 2–4 mm veg-tan, the difference is invisible to anyone who isn't comparing stitching lines side by side.
Spacing: SPI, Metric, and What to Actually Buy
Stitching tool spacing is measured two ways, and both appear on product pages.
SPI (stitches per inch): how many stitches fit in one inch of sewn length. Higher SPI means tighter spacing, smaller holes, finer thread. A 5 SPI tool gives approximately 5mm between holes; 7 SPI gives roughly 3.6mm.
Metric (mm between tines): more common on European and Japanese tools. 3mm, 3.85mm, and 4mm are the three spacings you'll see most often.
| Spacing | Approx. SPI | Best for |
|---|---|---|
| 3 mm | ~8.5 SPI | Fine leather, thin veg-tan (1–2 mm), wallets, card holders |
| 3.85 mm | ~6.5 SPI | General-purpose; most common beginner choice |
| 4 mm | ~6.4 SPI | Medium-weight leather (2–4 mm), belts, bags |
| 5 mm | ~5 SPI | Heavy leather, boots, straps |
| 6 mm | ~4 SPI | Very thick veg-tan or rustic work |
For a first project on 2–3 mm veg-tan, a 3.85mm or 4mm diamond chisel set covers most situations. Buy a 4-prong and a 2-prong from the same brand (so spacing matches), and you have enough to handle straight runs and curves. Some beginners also grab a single-prong for tight corners.
Avoid the cheapest no-name sets. Tine alignment varies, which means your holes stagger and your stitching line looks uneven. Craft Sha, Vergez Blanchard, and KS Blade are names that come up repeatedly in online leathercraft communities for consistent geometry at different price points.
Pricking Irons vs Diamond Chisels: Side-by-Side
| Feature | Pricking Irons | Diamond Chisels |
|---|---|---|
| Pierces all the way through? | No (marks only; awl required) | Yes, single step |
| Difficulty for beginners | Higher (two-step technique) | Lower |
| Stitch appearance | Fine, slightly angled, traditional | Clean, upright, slightly larger hole |
| Typical spacing range | 3–6 mm | 2.5–6 mm |
| Works well on thick leather? | Yes, with a sharp awl | Yes, with a firm strike |
| Tool cost (entry level) | $20–$60 for irons alone + awl cost | $15–$50 for a basic set |
| Follow-up tool needed | Stitching awl | None |
| Learning curve | Moderate to steep | Gentle |
One clarification worth making: the terms overlap in common use. You'll see "stitching irons" used as a synonym for diamond chisels in many shops. When a product page says "stitching iron," check the photos: if the tines are diamond-shaped and the listing says "pierces through," it's a chisel. If the tines are more rounded/pointed and it mentions using an awl after, it's a pricking iron. The naming is not standardized.
What to Buy First (A Practical Decision Tree)
Buy diamond chisels if:
- This is your first leatherwork project
- You're working on 2–4 mm veg-tan
- You want to focus on learning saddle stitch technique rather than hole-making
- You want to start stitching the same day your tools arrive
Buy pricking irons if:
- You've already done a few projects and want to refine your technique
- You're specifically pursuing English/European saddlery style work
- You want the finest possible stitching line on thinner leathers
- You're willing to also practice with an awl
There's no wrong answer long-term. Many experienced leatherworkers own both, using diamond chisels for thicker or quicker projects and pricking irons for show-quality work. But starting with pricking irons and no awl experience often leads to wobbly holes and frustration.
Prong Count and When to Use Each
Both tool types come in single-prong, 2-prong, 4-prong, 6-prong, and sometimes 8-prong versions. They're meant to be used together from the same set.
Single prong: corners, tight curves, adjusting spacing at the end of a run, and anywhere multi-prong tools can't fit cleanly.
2-prong: moderate curves; maintaining spacing around strap ends and gussets.
4-prong: the standard workhorse for straight stitching lines. You overlap the last tine from the previous impression into the last hole already made, which keeps spacing perfectly consistent along a straight run.
6- or 8-prong: faster on very long straight runs (belt bodies, bag straps), but harder to keep aligned on anything with a slight curve.
A 4-prong plus a 2-prong from the same series is the minimal functional set. Add a single-prong when you start working with irregular shapes.
Before punching holes, you'll also need to mark your stitching line with a groover or wing divider. If you're still figuring out your cutting workflow, the guide on how to cut leather cleanly covers the setup that should happen before any hole-punching begins. Once your holes are punched, the thread choice matters more than most beginners expect. The what thread to use for hand-stitching leather guide breaks down linen, polyester, and waxed options.
FAQ
Can I use a pricking iron without an awl?
No, not properly. Pricking irons leave shallow marks, not through-holes. The marks guide your awl placement, but the awl is what creates the actual hole the thread passes through. Using a pricking iron alone and trying to force thread through the dents will damage the leather and your thread.
Do I need to use a mallet, or can I press by hand?
For diamond chisels, hand pressure alone almost never produces clean holes through full-grain leather; a mallet is necessary. One firm, controlled strike typically works better than several light taps, which can cause the tool to shift between hits and widen the holes unevenly. A rawhide, wooden, or nylon mallet is preferable to metal, which can damage the handle over time.
What's the best spacing for a beginner's first wallet?
3.85mm or 4mm is a comfortable starting point for a wallet made from 2–3 mm veg-tan. At that spacing the holes are close enough to look refined but large enough that a #2 or #18 needle passes through without fighting. If you're using thinner leather (1–1.5 mm), drop to 3mm for a proportional look.
Why do some diamond chisels look straight-tined and some look angled?
Angled tines (typically 60–75° from the horizontal) are designed to produce a slightly slanted hole, which some leatherworkers find gives a cleaner stitch. Straight-tined chisels cut more vertically. Both work; the difference is subtle on finished work. Beginners rarely need to optimize for tine angle before they've done a few projects.
How do I know if my holes are too far apart or too close?
A good rule of thumb: the knot or buried thread between each stitch should be about the same width as the hole itself. If there's significant bare leather visible between holes, the spacing is too wide for your thread weight. If the stitching looks cramped and the leather is starting to tear at the holes, either the spacing is too tight or you're using too thick a thread. Matching thread diameter to hole size is covered in the thread guide.