How to Cut Leather Cleanly: A Beginner's Guide
Learn how to cut leather cleanly: the right knives, cutting surfaces, technique, and the common beginner mistakes to avoid.
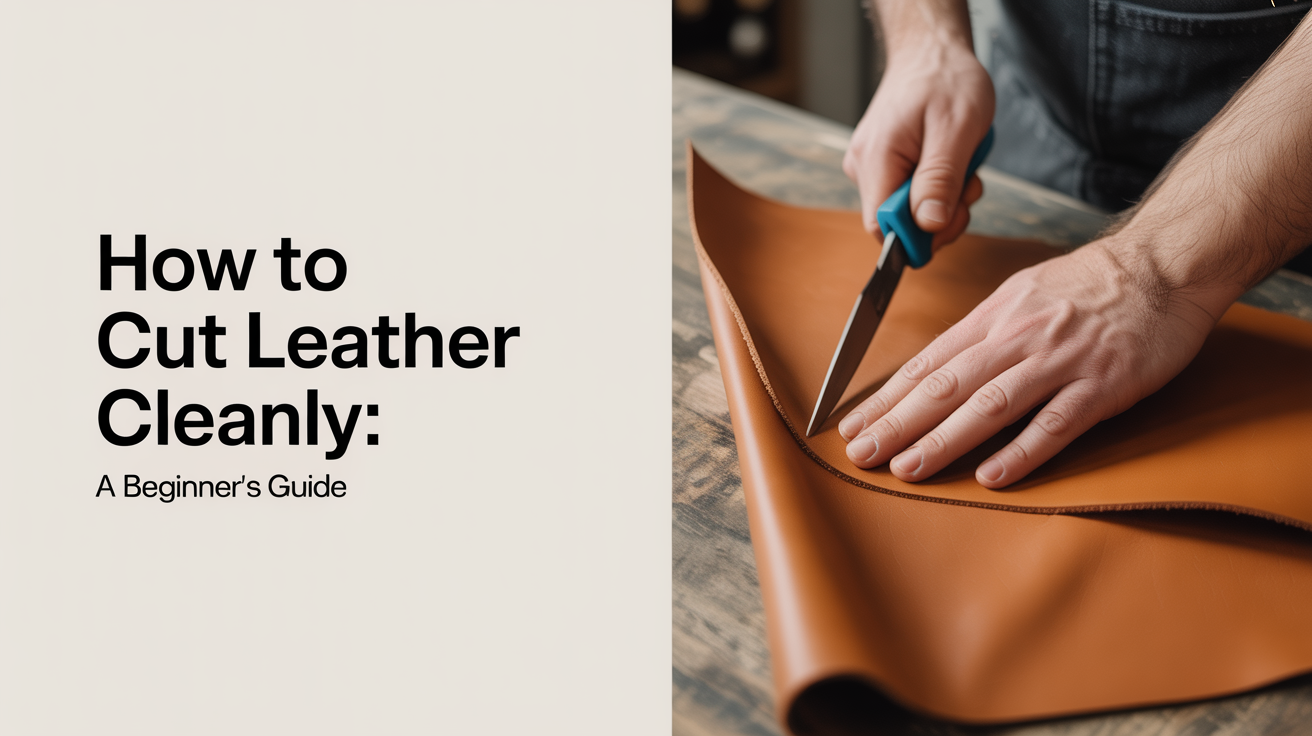
Getting a clean cut in leather comes down to three things: a sharp blade, a firm surface, and a single confident stroke. That's it. Most ragged edges beginners see aren't caused by the wrong knife. They're caused by hesitation, a dull blade, or a cutting surface that lets the leather shift.
Tools You Actually Need
You don't need a workshop full of equipment to start cutting leather well. Here's what matters:
A good knife. For straight cuts, a utility knife with fresh blades works fine. Snap off the blade segment the moment it starts dragging rather than slicing. A dedicated round knife (also called a head knife) is the traditional leatherworker's all-purpose blade. The curved edge lets you rock through thick stock cleanly, and with practice it's faster than any box cutter. A swivel knife is for carving decorative lines, not for cutting pieces out.
A steel ruler or aluminum straightedge. Never use a plastic ruler; a blade will ride over the edge and cut into your fingers. A heavy aluminum or stainless steel rule, at least 18 inches (45 cm), holds the leather flat while guiding the cut.
A self-healing cutting mat or a thick poly cutting board. Marble slabs and plywood both ruin blades fast. A self-healing mat works for lighter leather; a high-density polyethylene (HDPE) board is better for thick stock. Some workers use a granite surface plate for its dead flatness, but a good poly board is plenty for beginners.
A wing divider or silver pen for marking cut lines before you commit.
Tools you don't need right away: a clicker press, rotary cutter, or laser cutter. All useful, but none of them are the "best way to cut leather" for a beginner working small projects by hand.
How Leather Weight Affects Your Cuts
Leather thickness is sold in ounces (oz), where each ounce equals roughly 0.4 mm. The two weights you'll encounter most as a beginner:
| Weight | Approx. Thickness | Common Uses |
|---|---|---|
| 3–4 oz | 1.2–1.6 mm | Card holders, thin wallets, lining pieces |
| 4–5 oz | 1.6–2.0 mm | Wallets, small bags, belts |
| 8–9 oz | 3.2–3.6 mm | Belts, straps, holsters |
Vegetable-tanned leather (veg-tan) cuts like firm butter when the blade is sharp. It holds a clean edge, doesn't stretch under the knife, and is the standard for hand-cut projects. Chrome-tanned leather is softer and stretchier. It wants to move away from the blade, so you need to hold it under more tension or tape it lightly to the cutting mat.
Never try to cut through thick leather in one pass if the blade is resisting. Light scoring on the first pass, then cutting through on the second, gives a cleaner result than forcing it.
The Technique for Straight Cuts
This is where most beginners go wrong. Here's the method that works:
-
Mark your line. Use a wing divider against the edge to scribe a line, or mark with a silver pen (it rubs off later). Don't guess or eyeball it.
-
Set your straightedge. Position the rule on the waste side of the cut line, so the blade runs along the good-side edge. Press down firmly with your whole palm and fingertips spread wide, never with fingers curled near the blade path.
-
Start with light pressure. First stroke: barely enough to score the surface fiber. You're not cutting through yet, just establishing the groove. This prevents the blade from wandering.
-
Complete the cut. Second stroke (or third on 8–9 oz stock): increase pressure and draw the blade smoothly from end to end in one motion. Sawing back and forth frays the edge.
-
Check the edge. Run a fingernail lightly along the cut. A good cut feels smooth. A feathery edge means the blade was dull or you pulled at an angle.
For curved cuts (wallet corners, bag straps with tapered ends), a round knife in a rocking motion beats a utility knife. You rock forward from the heel of the curve, maintaining light downward pressure. This takes practice, but it's the technique that gives craftspeople those perfect flowing curves on tooled work.
Keeping Your Blade Sharp
A strop with green compound is as important as the knife itself. Strop the blade every 15–20 minutes of cutting. Leather is mildly abrasive, and a blade that feels fine on cardboard will feel noticeably sluggish on 8 oz veg-tan after 30 minutes of use. You'll know it's time when cuts start tearing instead of slicing clean.
For utility knives, just snap the blade segment. For round knives and fixed blades, stropping extends the sharpness between more intensive sharpening sessions on a whetstone.
Cutting Curved and Freehand Shapes
Not everything comes from a template with straight edges. For cutting circles, gussets, or rounded corners without a clicker die:
- Make a template first. Heavy card stock or thin aluminum sheet. Trace around it with a silver pen, then cut on the line with scissors for thin leather (under 3 oz) or a round knife for anything heavier.
- For consistent corners, use a corner punch. These are hollow punches in radius sizes like 3 mm, 5 mm, 10 mm. Position one at each corner and strike once with a mallet. Much cleaner than cutting curves freehand.
- For straps and strips, a strap cutter (a simple tool with a blade mounted at a set distance from a fence) gives you perfectly parallel sides in seconds. Worth buying if you're making more than one belt or bag strap.
Once your pieces are cut, you'll want them prepared for stitching. That means marking your stitch line with a stitching groover or wing divider, then spacing holes with pricking irons or stitching chisels before moving to the actual saddle stitch.
Common Mistakes and How to Fix Them
Wavy lines on straight cuts. Usually caused by the straightedge shifting mid-cut. Solution: use a heavier rule (a steel engineer's square is ideal), clamp one end to the bench, or use a non-slip mat strip under the rule.
The blade skips at the start of the cut. The leather surface is grabbing instead of releasing the blade. Either the blade is dull or the knife angle is too steep. Keep the blade at roughly 80–85° to the surface, nearly vertical but not quite.
Uneven edge thickness (the cut bevels inward). This means the blade was angled during the cut. The knife spine should stay perpendicular to the leather surface throughout the stroke.
The edge looks rough on the flesh side. Completely normal on veg-tan; that's the fibrous underside. Finish it later with an edge beveler on the corners and then burnish with tokonole or beeswax. If the roughness extends up into the grain side, you had a dull blade.
Chrome-tan stretching under the blade. Tape the piece to your cutting mat with low-tack tape along the edges before cutting. Just enough to hold it still, not enough to leave adhesive residue on the surface.
FAQ
Can I cut leather with regular scissors?
For soft, thin chrome-tan under 3 oz (about 1.2 mm), heavy fabric scissors cut cleanly enough for non-precision work. For veg-tan or anything thicker, scissors crush the edge and leave an uneven bevel. A knife with a straightedge is the right tool.
What's the best cutting surface for leather?
A self-healing cutting mat works well for lighter leather. For 6 oz and above, a thick HDPE or ultra-high-density polyethylene (UHDPE) board holds up better and stays flat longer. Avoid glass (blade-killer), wood (blade-dulling, uneven), and marble (blade-killer at speed). Granite is fine but expensive and heavy.
How do I get perfectly parallel straps?
A strap cutter (also called a draw gauge) is the reliable answer. Set the fence to your desired width, press the leather against it, and pull. One pass gives you a strap with parallel sides. Cutting freehand to a marked line works, but even a slight angle compounds over 24 inches (60 cm).
Do I need a round knife or will a utility knife do?
A utility knife with fresh blades handles straight cuts on most leather weights without trouble. The round knife pays off when you're making lots of curved cuts, cutting thick leather regularly (8 oz and above), or doing production work where you want to work faster. For a first project or two, a quality utility knife is completely adequate.
How do I know when my blade is too dull to keep using?
Two signs: the blade starts dragging or skipping instead of gliding, and the cut edge looks frayed or fibrous rather than smooth. On a utility knife, snap a segment immediately. On a fixed blade, strop for 30 seconds and test on scrap. If it's still dragging, it needs the whetstone. The thread you choose for stitching matters less than keeping the blade sharp enough to cut clean holes for it.