How to Carve Sheridan-Style Leather Flowers as a Beginner
Learn sheridan style leather carving step by step: casing, cutting the design, beveling, backgrounding, and veining your first floral motif.
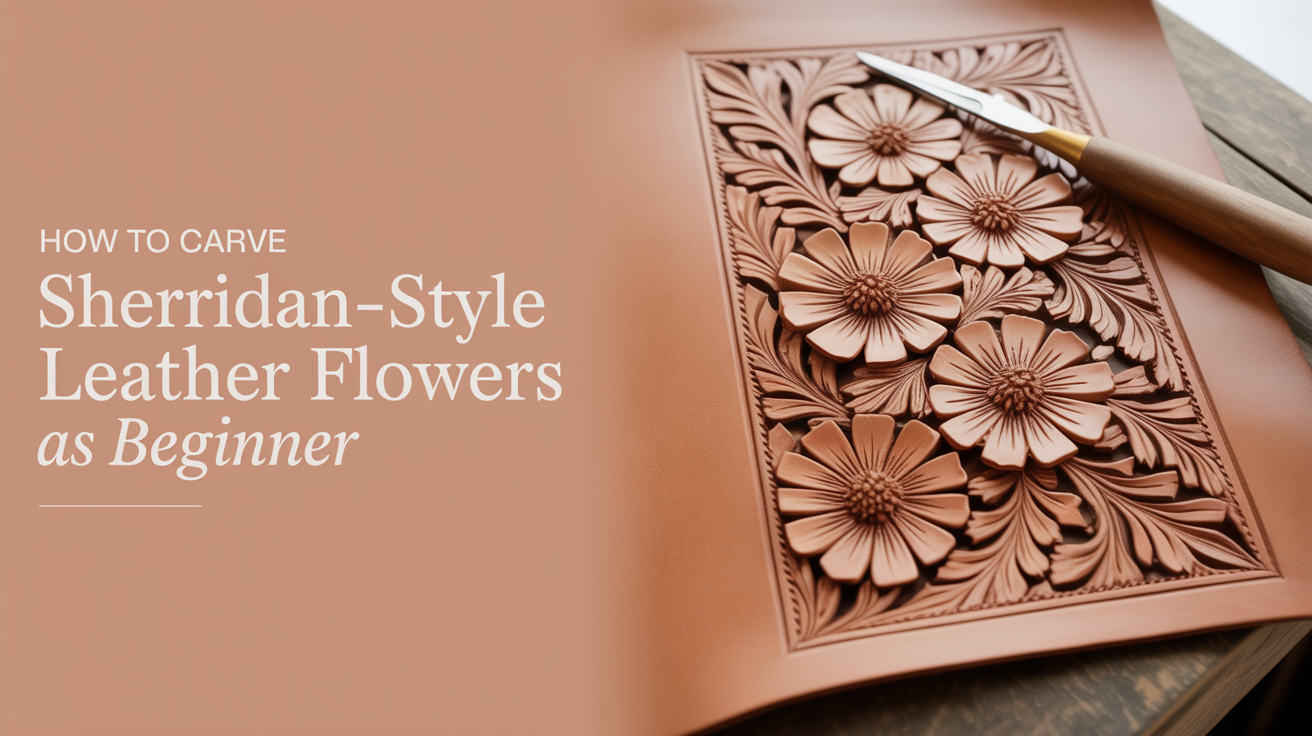
Once you can run a swivel knife in a straight line and drop a few basic stamps without your hand shaking, sheridan style leather carving is usually the next thing beginners want to try. It's the tooling you see on western belts, wallets, and holsters: big flowing floral vines, deep shading, and petals that look almost sculpted into the leather. It's also a bigger jump in skill than most people expect, so it helps to know exactly what you're walking into before you case your first piece of tooling leather.
What Makes a Pattern Sheridan Style
Sheridan carving, named after the Wyoming town where the look developed, is built around continuous floral vines rather than isolated stamped shapes. A rose, some leaves, and a few scroll flourishes flow along a curving stem, and the whole thing is meant to read as one connected design rather than a row of separate stamps.
Two things set it apart from basic beginner tooling. First, the cutting is done freehand with a swivel knife along a traced pattern, not built entirely from geometric stamps. Second, the shading is deep and deliberate: petals overlap, some sit in shadow and some catch light, and the background around the design is usually knocked down (backgrounded) so the flowers stand up in relief. That contrast between raised design and recessed background is most of what makes the style pop.
If you've only stamped basic borders so far, this is a genuine step up. It's not a different craft, just a more demanding version of the same one.
The Tool Kit You're Actually Going to Need
Basic beginner stamping gets by on maybe five or six stamps and a mallet. Sheridan work needs a wider set, and this is the part that surprises people on cost. You'll want:
- A sharp swivel knife with a comfortable yoke, plus a strop to keep the blade honed
- A beveler (or a small set of bevelers in different sizes) to shade along the cut lines
- A backgrounder or a matting/seeder stamp to knock down the negative space
- Veiners for the leaf and petal detail lines
- A few shaders for adding depth inside larger petals
- A pear shader or camouflage stamp, which shows up constantly in floral work
- A good poly cutting board and a mallet you already trust
If you're still working with the basic stamp set from your early practice pieces, our guide to beginner leather stamping tools and how to use them covers which of those tools carry over and which you'll be retiring for floral-specific ones. You don't need every stamp shape that exists. A handful of quality bevelers and veiners will get a beginner through their first dozen flowers just fine, and buying the giant 50-piece stamp sets sold as starter kits is usually a waste of money since half of those shapes never come up in floral work.
Case the Leather Properly Before You Touch It
None of this works on dry leather. Sheridan carving depends on the fibers being compressed cleanly, and that only happens when the moisture content is right. Too wet and your lines mush out instead of holding a crisp edge. Too dry and the swivel knife drags and skips.
The short version: wet the leather, let it come back to a slightly darker-than-original shade as it dries, and start working right when it reaches that "case" window. Get this wrong and even a perfectly cut design will look soft and blobby once you bevel it. If you haven't nailed this step yet, it's worth reading through how to wet case leather for tooling before you start a floral piece, since a bad casing job will sabotage every step that comes after it, no matter how careful your cutting is.
Transfer the Design Before You Cut
Almost nobody draws sheridan patterns freehand when they're starting out, and there's no shame in that. Buying or tracing an existing floral pattern is completely normal, even among carvers who've been at it for years. What matters is getting the design onto the cased leather cleanly, usually by tracing over the pattern with a stylus so it leaves a faint impression in the damp surface.
If you haven't done this before, our post on how to transfer a pattern onto leather for tooling walks through the tracing process in more detail. Get the tracing light enough that it guides your knife without leaving a visible groove of its own.
Cutting the Design Lines with a Swivel Knife
This is where sheridan work lives or dies. Every stem, petal edge, and leaf outline gets cut with the swivel knife before any stamping happens. The blade should be sharp enough that you're barely pressing, letting the weight of your hand and a rocking motion do the cutting rather than forcing it through the leather.
Cut the main flowing lines first, the ones that carry the eye through the whole design, then come back for the smaller detail cuts inside each petal. Depth matters here more than people expect. A cut that's too shallow won't hold a bevel later, and one that's too deep can cut clean through thinner hides. If your swivel knife technique still feels shaky, it's worth going back to basics with how to carve leather with a swivel knife and practicing plain curved lines on scrap before committing to a full flower. There's no shortcut here. Clean cutting is the foundation everything else sits on.
Beveling and Backgrounding
Once the lines are cut, the beveler goes to work pushing down the leather right alongside each cut, which creates the illusion of depth and makes the design edge look raised. Work with the grain of the design: petals that are meant to sit "under" an overlapping petal get beveled on the side that pushes them down, and petals on top get left alone or beveled lightly on the outer edge only.
Backgrounding comes next, and it's often what beginners skip because it's tedious. Knocking down the negative space around the flowers with a backgrounder or seeder stamp is what makes the floral design pop forward. Skipping this step is the single biggest reason a beginner's first sheridan attempt looks flat compared to reference photos. It takes patience, especially getting into tight corners between petals, but it's worth doing properly rather than rushing.
Veining and Shading for Depth
The last layer is detail work. Veiners cut fine lines into the petals and leaves to suggest their natural structure, and shaders (the pear shader shows up everywhere in this style) add graduated depth inside the larger shapes so they don't look flat even after backgrounding. This stage is genuinely more art than mechanics. Two carvers working from the identical traced pattern will place their shading differently, and that's part of what gives sheridan work its individual character rather than looking machine-stamped.
Go slowly here. It's tempting to rush the shading once the hard cutting is behind you, but sloppy veining can undo a clean cut line pretty quickly.
Start With One Flower, Not a Whole Border
The single best piece of advice for a beginner attempting this style: do not start with a full belt border or a wallet flap covered edge to edge in flowers. Cut one simple rose or one leaf cluster on a scrap piece first. Learn how your particular leather takes a bevel, how your swivel knife blade behaves at this depth, and how your specific stamps strike, before you commit hours to a project piece.
Most people who try to jump straight to a full border end up with an uneven design where the first few flowers look rough and the last ones look decent, because they were still learning partway through. Practicing one motif repeatedly on scrap until it's consistent will save you leather, time, and frustration. A purchased pattern is completely fine to lean on while you're building this muscle memory. Drawing your own original sheridan-style florals is a skill for later, once the cutting and shading fundamentals are solid.
Frequently Asked Questions
Do I need a full stamp set to start sheridan carving?
No. A sharp swivel knife, one or two bevelers, a backgrounder, a veiner, and a pear shader will get you through your first several flowers. Expand the kit gradually as you find gaps in what a specific pattern needs.
How long does it take to carve one Sheridan-style flower as a beginner?
It varies a lot by hand skill and leather condition, but expect a single flower with a couple of leaves to take considerably longer than it looks like it should the first few times. The cutting, beveling, backgrounding, and shading all add up, and rushing any step shows in the final result.
Can I use synthetic or cheap leather to practice this style?
Practice cuts and stamping pressure on scrap vegetable-tanned leather specifically. Sheridan tooling depends on the fiber structure of veg tan taking a clean, permanent impression when cased properly, and most synthetic or chrome-tanned materials won't hold a bevel the same way.
Why does my backgrounding look uneven compared to reference photos?
Uneven backgrounding usually comes from inconsistent mallet strikes or working the leather when it's drifted out of case. Recheck your moisture level partway through a large background area, and try to keep strike pressure consistent rather than varying it as your hand tires.
Is it okay to trace someone else's Sheridan pattern instead of drawing my own?
Yes, and it's how most carvers start and continue for a long time. Purchased or traced patterns let you focus on cutting and shading technique without also having to solve floral composition from scratch. Just make sure any pattern you buy is licensed for personal tooling use.