How to Wet (Case) Leather for Tooling
Learn how to case leather correctly for tooling and stamping: the right moisture level, how to test it, and how to avoid common beginner mistakes.
Casing leather means wetting it just enough that the fibers become temporarily pliable, then waiting for it to dry back toward its natural color before you start tooling. Get it right and every stamp impression lands clean and crisp. Get it wrong (too wet or too dry) and you'll either mash a blurry mess into the surface or crack the top layer on the first pass.
What Casing Actually Does to the Leather
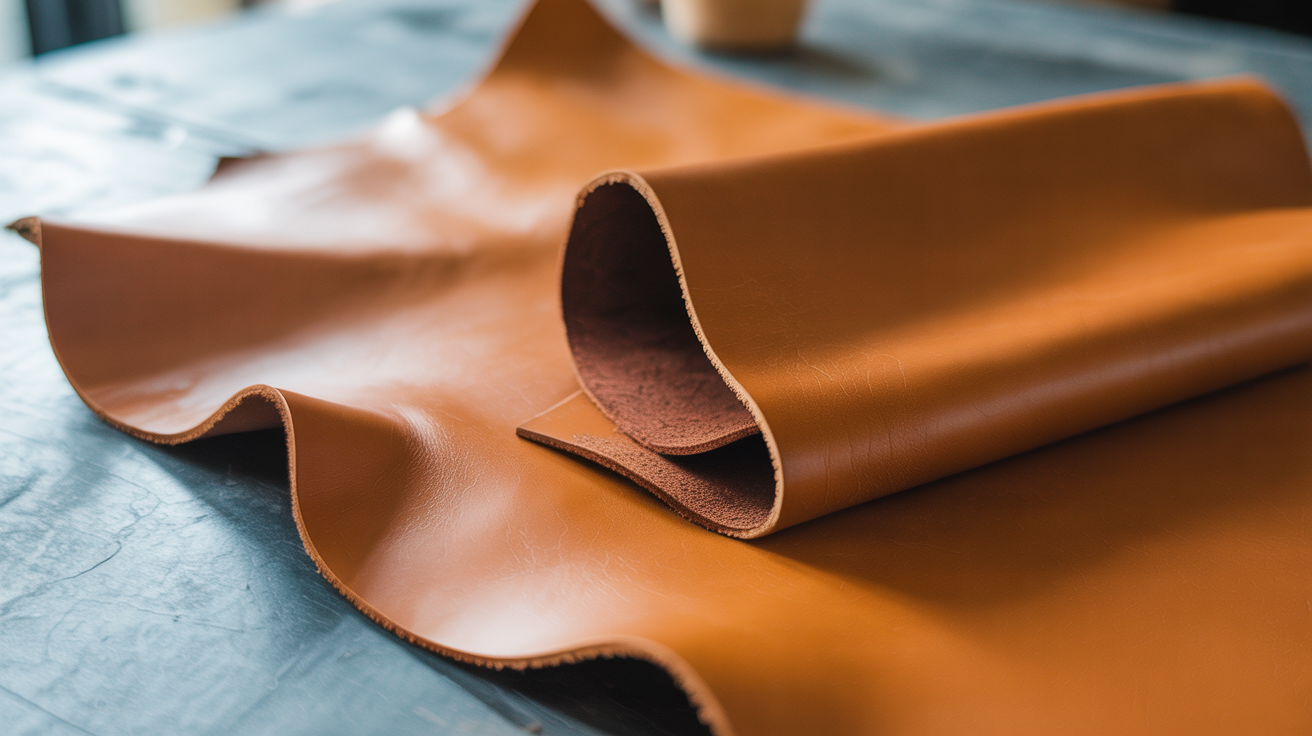
Vegetable-tanned leather is the only kind you can tool. Chrome-tan, combination-tan, and most upholstery grades won't hold a clean impression no matter how carefully you case them, so if you're starting out, confirm you have genuine veg-tan before spending time on this step.
When veg-tan leather is dry, the tightly packed fibers resist compression. When you add water, those fibers swell and temporarily soften. The surface becomes receptive: a stamp or swivel knife can displace the fibers and they'll stay displaced as the leather dries. That's the whole mechanism. Too much water and the fibers are so saturated they just squish back; too little and they won't compress cleanly in the first place.
Casing isn't just about moisture content in the abstract. Tooling leather that's at exactly the right level has a distinct feel under your fingertips: slightly cool, lightly tacky, and noticeably softer than dry leather. Once you've felt it a few times, the cue is unmistakable.
The Right Moisture Level and How to Judge It
The classic test is the color cue. Fresh from a soak, veg-tan turns a deep caramel or amber. Bone dry, it returns to its original tan. The sweet spot for tooling sits between those two states: the leather has come back close to its natural color but still feels slightly cool when you press it to the inside of your wrist.
That "return to near-original color" rule is reliable. If the leather still looks noticeably darker than its dry state, it's too wet. Set it aside and wait. If it matches the dry color exactly and feels room temperature, it's too dry, and you'll need to re-case it.
A simple thumb-test helps too. Press your thumb firmly into a corner of the flesh side. If a clear thumbprint stays and the leather feels soft, you're in range. If the surface feels stiff or springs back immediately, it needs more time or more water.
For most tooling leather between 3–4 oz and 8–9 oz (roughly 1.2–3.5 mm), the window after casing runs somewhere between 15 and 45 minutes at room temperature (about 20°C / 68°F). Thicker shoulders and bends may hold moisture longer; thin garment-weight pieces dry fast. Humidity matters, too. A dry workshop in winter will shorten your window considerably.
How to Case Leather Step by Step
What you'll need:
- Clean water at room temperature (cold water is fine; very hot water can cause uneven absorption or raise the grain)
- A natural sponge or a folded piece of lint-free cloth
- A flat, clean surface to let the piece rest
- Optional: one or two drops of dish soap added to your water, or a purpose-made product like Pro Carve, for pieces that seem resistant to even wetting
The process:
-
Start with clean, dry leather. Any surface dirt, oil, or finish residue will block even absorption. If the piece is new from a supplier, a light pass with a damp sponge is usually enough prep.
-
Wet your sponge and wring it so it's damp, not dripping. Wipe the grain (smooth) side in overlapping passes, working methodically from one end to the other. You're not flooding the surface; you're transferring an even film of moisture.
-
Flip the piece and repeat on the flesh side. Wetting both sides lets moisture penetrate evenly from the center outward rather than soaking in from one direction. Single-side wetting can lead to uneven cases and curling.
-
Lay the piece flat, grain side up, and wait. Watch the color. When it returns close to the natural tan, still slightly cool to the touch but no longer visibly wet, you're ready to tool.
-
If the leather dries out before you finish your design, re-wet only the area you're working. A light pass with a barely damp sponge is enough to extend your window without over-saturating the section you've already stamped.
If you're working on a project that requires a lot of detail (a full floral carve with dozens of individual stamps, for example), plan to work in sections and re-case as you go. Trying to race the drying leather leads to rushed work and uneven impressions.
Common Mistakes and How to Fix Them
Over-wetting. The leather looks dark, feels cold, and stamps leave blurry impressions that look compressed rather than defined. The fix is simple: wait. Set the piece somewhere with decent airflow. Avoid using a heat gun to rush it; uneven drying leads to uneven workability. Patience here is faster than fighting mushy impressions.
Under-wetting. The leather looks normal and feels room temperature, and your stamp bounces back without leaving much of a mark. Re-case from scratch. One light pass with a sponge usually isn't enough if the leather is already dry; go back to wetting both sides and give it another cycle.
Uneven casing. One corner is dry, the other is still dark. This usually happens when you wet only the grain side, or when you applied water unevenly. Spot-fix by re-wetting the dry areas only, then wait for the whole piece to equalize before tooling.
Curling during casing. Lightweight pieces (under 3 oz) often curl as moisture hits one side before the other. Wet both sides quickly and place the piece between two flat boards or under a piece of glass for a few minutes to keep it flat as it absorbs.
Starting too late after casing. If you prepped your leather, got distracted, and came back to find it bone dry, don't try to stamp anyway. Re-case it completely. Forcing tooling into dry veg-tan can crack the surface layer and ruin the piece.
Working With Different Weights and Projects
Lighter leathers (3–4 oz / 1.2–1.6 mm) case quickly and dry fast. Wet both sides, wait 5–10 minutes, and check frequently. These pieces are great for learning the cue because the cycle is short.
Medium weights (5–7 oz / 2–2.8 mm) are the standard for belts, bags, and most stamped work. They hold moisture longer and forgive a slower pace. Plan for a 20–35 minute working window in average conditions.
Heavier shoulders and skirting leather (8–10 oz / 3.2–4 mm) need more water and more time. Some crafters submerge very thick pieces in room-temperature water for 30–60 seconds, then wrap them in a damp cloth and wait 10–15 minutes before checking. That longer absorption time gives you a stable, even case across the full thickness.
For stamping work with basic tools, medium-weight veg-tan at a standard case is where you'll do most of your learning. For swivel knife work and carving, the moisture level matters even more. A swivel knife drags and tears if the leather is too dry, and slides without cutting cleanly if it's too wet.
Once you're ready to put your casing skills into practice on a full design, the beginner tooling guide covers layout, transfer, and technique from start to finish.
FAQ
Can I use tap water to case leather, or do I need distilled water?
Tap water works fine for casing in most areas. If your tap water is very hard (high mineral content), there's a small chance of mineral deposits affecting the surface over time, but it's rarely a practical issue for tooling. Distilled water is a reasonable choice if you want to be careful, but it's not necessary for most beginners.
How do I know if my leather is too wet to tool?
The clearest sign is that it still looks noticeably darker than its dry state. Press a stamp in and the impression will look soft or spread out rather than clean and defined. Set the piece flat and wait until the color has returned close to normal before trying again.
What is Pro Carve and do I need it?
Pro Carve (sometimes sold as Leather Casing Solution or a similar name depending on the supplier) is a conditioner added to the casing water in small amounts. It's said to even out moisture absorption and slightly extend the working window. You don't need it. Plain water works for the vast majority of tooling projects. But it can help with leathers that seem to absorb unevenly or dry very quickly.
Can I re-case leather multiple times?
Yes. Re-casing is normal and expected on larger projects. You won't damage the leather by wetting it repeatedly, as long as you aren't over-saturating it each time. Let each section reach the correct moisture level before tooling, and the impressions will be consistent throughout.
Does casing work on all tooling leather brands?
It works on any genuine vegetable-tanned leather. The exact wait times vary depending on how the leather was finished. Some heavily finished pieces resist water initially, but the color-return cue and touch test work the same way regardless of brand. If a piece seems to resist absorbing water evenly, add a tiny drop of dish soap to your sponge water. The slight surfactant action helps moisture penetrate without harming the leather.