How to Transfer a Pattern onto Leather for Tooling
Learn how to transfer a pattern onto leather for tooling with three reliable methods, plus tips for crisp lines and clean results every time.
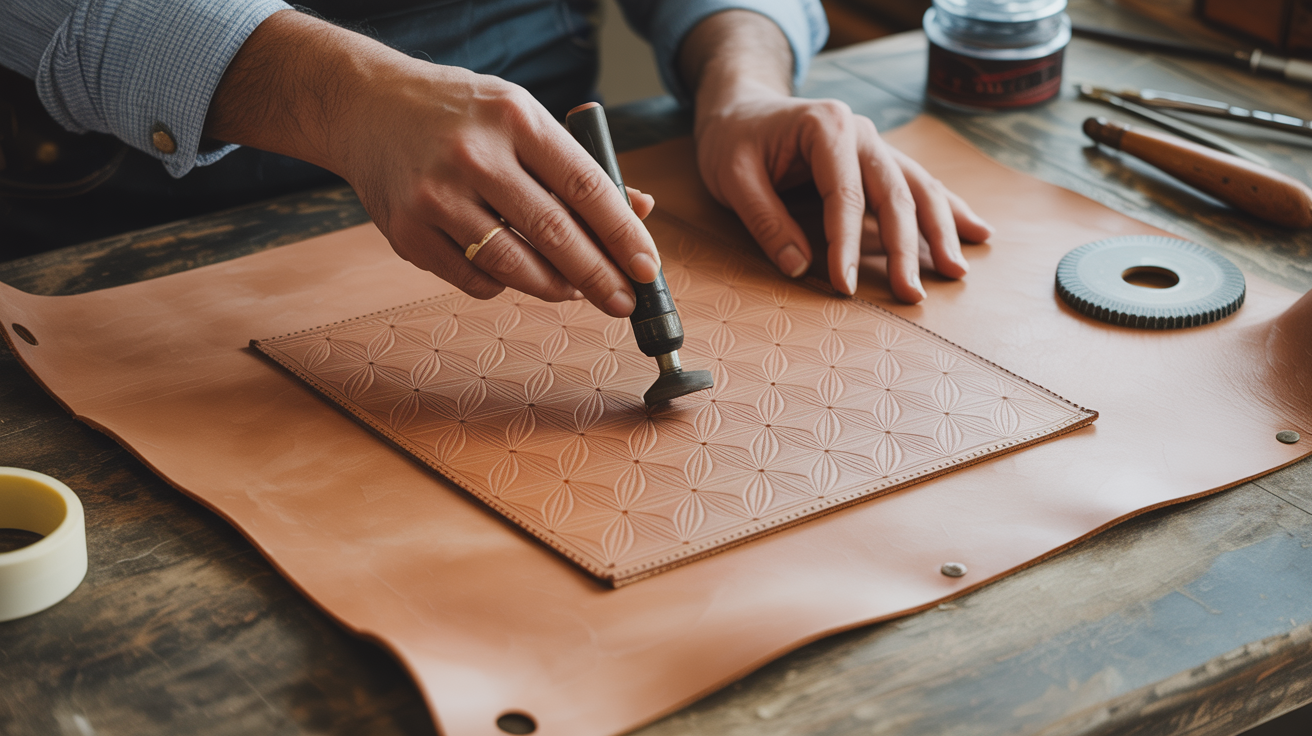
Transferring a pattern onto leather before tooling comes down to one reliable method: wet the casing leather to the right moisture level, lay your pattern on top, and trace the design with a stylus or ballpoint pen. The slight pressure leaves a faint impression in the leather surface that guides your swivel knife and stamps. Get that part right, and the rest of the tooling follows naturally.
The sections below cover three transfer methods that actually work, how to prep the leather first, and what to avoid if you want clean lines.
Prepare the Leather Before You Transfer
Pattern transfer only works on vegetable-tanned leather that has been properly cased (dampened). Chrome-tanned leather does not hold tooling impressions, so check your hide before you start.
To case the leather:
- Sponge clean water over the grain (top) surface until the leather darkens uniformly.
- Set it aside, grain-side up, for a few minutes. The surface should return to its original color but feel cool and slightly damp to the touch, not wet and limp.
- Test on a scrap: press a fingernail lightly into the grain. The impression should hold without water welling up. If the surface looks dark and shiny, it is too wet; wait longer.
Getting casing right is one of the more important skills to develop early. A good walkthrough is in the beginner's guide to stamping and more detail on technique is in the wet casing guide.
Method 1: Trace Through Paper with a Stylus
This is the standard method for beginners and the one you will use most often.
What you need:
- Your printed or hand-drawn pattern on regular printer paper or tracing paper
- A stylus (a ball stylus or the blunt tip of a modeling tool works well)
- Tape or paper clips to hold the pattern in place
Steps:
- Place the cased leather grain-side up on a smooth, firm work surface.
- Center your pattern over the leather and tape one edge down so it cannot shift mid-trace.
- Use the stylus to trace every line of the design with steady, moderate pressure. You are not cutting the paper; you are pressing the image into the moist leather beneath.
- Peel back a corner periodically to check that the impressions are showing up. If you see no marks, the leather may be too dry; re-case and try again on a scrap piece first.
- When the full design is traced, remove the paper carefully and let the leather dry to a uniform tan before you cut.
The impression lines are your swivel knife guide. They will be faint, which is intentional: the tooling covers them.
Method 2: Transfer Paper (Graphite or Leathercraft Film)
For more detailed patterns or designs with fine curves, leathercraft transfer paper gives you a more visible line to follow.
The process mirrors tracing paper transfer, but you sandwich a sheet of graphite transfer paper between the pattern and the leather, face-down against the grain. When you trace, the graphite deposits a line directly on the leather surface.
A few notes:
- Use light pressure. Heavy pressure smears the graphite and leaves marks that bleed under stamps.
- Graphite lines will show on the finished piece unless they are completely covered by tooling or removed with a damp cloth before dyeing.
- Leathercraft stores sell special film in tan or white that shows up on dark hides. Graphite paper from an art supply shop works fine on natural veg-tan.
Test on a scrap before committing to your main piece. Some papers transfer unevenly, and it is better to learn that on scrap.
Method 3: Prick Through the Pattern with a Pricking Iron or Pin
For geometric designs, borders, and basketweave layouts, you can prick hole marks through the pattern directly into the cased leather using a pin, fine awl, or leather pricking iron.
Hold the tool upright and press lightly, enough to leave a dot without puncturing the hide deeply. Connect the dots freehand with your swivel knife after removing the paper. This method works particularly well for repeating geometric borders where the pattern is simple and consistent.
Printing and Sizing Your Pattern
Before any transfer method, your pattern needs to be the right size.
- Print patterns at 100% scale (no "fit to page" scaling in your print dialog).
- For designs sourced online, check for a scale reference in the image. Many patterns include a 1-inch reference bar or a note about the finished project dimensions.
- If you are scaling a design up or down, do it on paper before you touch the leather. Proportional resizing is easy in any image editor or even a photocopier.
Redraw the pattern on fresh paper if you want to add or remove elements, so your master copy stays clean and reusable.
Common Problems and How to Fix Them
| Problem | Likely cause | Fix |
|---|---|---|
| No impression visible | Leather too dry when traced | Re-case and re-trace; test on scrap first |
| Lines look smeared or fuzzy | Leather too wet, or stylus too heavy | Wait for leather to reach correct moisture; lighten pressure |
| Pattern shifted mid-trace | Not secured properly | Tape all four corners before starting |
| Transfer lines visible after tooling | Graphite paper, heavy pressure | Use lighter graphite; wipe with damp cloth before dyeing |
| Design looks reversed | Pattern flipped on leather | Mark the pattern "face up" before placing it |
Frequently Asked Questions
Can I use a ballpoint pen instead of a stylus?
Yes, with a caveat. A retracted or dried-out ballpoint works well because it has the right ball tip without depositing ink. A working pen can leak ink into the leather grain, which is hard to remove. Keep a worn-out pen specifically for this purpose.
Do I need to seal the design after transferring it?
No. The impression is a physical indent in the leather surface, not a coating on top of it. Once cased and transferred, you go straight to cutting with your swivel knife.
What if I make a mistake during transfer?
Minor stray lines from a stylus on cased leather are usually very faint and disappear under tooling or dye. If you press a deep unintended groove, dampen the area and burnish it gently with a bone folder before the leather dries. The fiber can partially spring back on a minor slip.
Can I reuse the same paper pattern?
Yes. Tracing through paper does not damage the pattern noticeably, and you can use the same sheet several times before it tears. Laminating the pattern with tape or printing on card stock extends its life further.
Does this work for carved floral designs like Sheridan-style?
The same stylus-tracing method applies to any tooled design, including Sheridan florals. For complex flowing designs, trace more slowly and keep consistent pressure throughout. Practice the full design on scrap leather before moving to your project piece. The beginner stamping tools guide covers the stamps you will reach for once the design is transferred.