How to Make a Simple Leather Wallet by Hand
Learn how to make a leather wallet with this step-by-step beginner guide: bifold pattern, card pockets, bill compartment, saddle stitch, and edge finish.
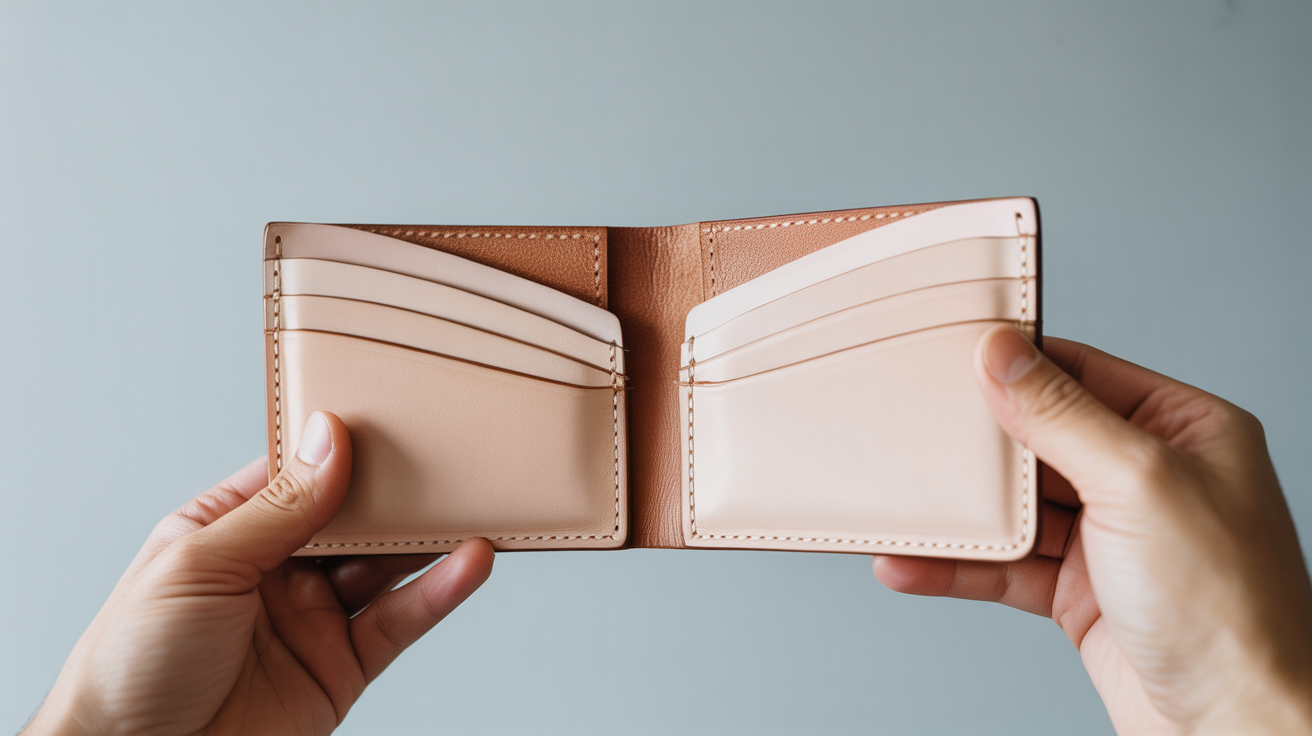
A hand-stitched bifold wallet is one of the best second projects in leatherwork: it uses the same core skills as a card holder but adds a pattern layout, a skiving step, and real saddle stitching under tension. You can complete it in an afternoon with basic tools and end up with something you'll use every day.
What You Need
Leather
A bifold wallet calls for thin, supple leather. The sweet spot is 3–4 oz (1.2–1.6 mm) veg-tan or chrome-tan. Chrome-tan is softer right off the shelf and drapes well for a wallet that breaks in quickly; veg-tan is firmer, burnishes to a glassy edge, and develops a patina over time. Either works. Avoid upholstery or garment leather. It's too stretchy and won't hold a clean stitch line.
For a standard bifold you'll need a piece roughly 22 cm × 20 cm (8.5 in × 8 in). That's enough for the main shell, two card pockets, and a bill pocket liner with a little margin for error.
Tools and Materials
- Swivel knife or rotary cutter (rotary is easier for straight lines)
- Metal ruler and cutting mat
- Wing divider or stitching groover set to 3–4 mm (⅛ in)
- Diamond chisels: 4 mm pitch, 4-prong and 2-prong
- Maul or wooden mallet
- Harness needle × 2 (blunt tip, size 002 or 004)
- Waxed linen or polyester thread, 0.8–1 mm diameter
- Contact cement (water-based or solvent)
- Skiver or head knife (for thinning overlaps)
- Edge beveler, size 1 or 2
- Beeswax block or edge slicker
- Tokonole or gum tragacanth (edge burnishing compound)
- Sandpaper, 220 and 400 grit
- Binder clips or stitching clamps
- Awl (for marking holes individually if needed)
Safety note: contact cement, especially solvent-based, should be used with ventilation. Work near an open window or outdoors. Keep the cap on between coats and follow the product's own safety guidance.
Cut Your Pattern
The bifold below fits standard cards (85 mm × 54 mm / 3.4 in × 2.1 in) and folded bills.
Pieces to cut:
| Piece | Size (mm) | Size (inches) | Qty |
|---|---|---|---|
| Main shell | 210 × 100 | 8.3 × 3.9 | 1 |
| Card pocket | 90 × 65 | 3.5 × 2.6 | 2 |
| Bill pocket liner | 200 × 80 | 7.9 × 3.1 | 1 |
The main shell folds in half along its 100 mm axis, giving two 105 mm × 100 mm panels. Each panel holds one card pocket. The bill liner spans the inside of the shell and creates the note compartment when the wallet is assembled.
Mark pieces on the flesh (rough) side with a silver pen or light scratch. Cut against a metal ruler with a rotary cutter or sharp knife. Take two passes rather than one: the first scores, the second severs cleanly. Replace blades often; a dull blade drags and tears.
Skive the Overlaps
Anywhere leather layers meet (the tops of the card pockets and the long edges of the bill liner) you want to thin the leather so the assembled stack doesn't get beefy at the edges.
Use a skiver or head knife at a shallow angle (about 20°) to pare the flesh side down to roughly half thickness over the top 8–10 mm (⅜ in) of each card pocket and along the long top edge of the bill liner. You're aiming for a smooth feathered taper, not a step. Test on a scrap first. The motion is a long, flat stroke away from your body.
If you're using chrome-tan under 3.5 oz, you can often skip the card pocket skive; it's thin enough. Veg-tan at 4 oz benefits noticeably.
Glue the Assembly
Work in two stages: first attach card pockets to each panel, then attach the bill liner across the whole shell.
Stage 1: card pockets to panels
- Use the wing divider to scratch a glue boundary 4 mm in from the bottom and sides of each card pocket.
- Rough up both glue surfaces (flesh side of pocket, grain side of panel where they'll meet) with 220-grit sandpaper.
- Apply a thin, even coat of contact cement to both surfaces. Let it tack for about 3–5 minutes for water-based cement; the surface should feel dry to the touch but slightly sticky.
- Align the pocket to the bottom corner of the panel, press firmly, and clamp for 30 seconds. The bond is immediate, so position carefully before pressing.
Stage 2: bill liner
With the pockets attached, apply cement to the flesh side of the bill liner and to the corresponding area of the shell's flesh side. Let tack, then press the liner onto the shell, centered so there's equal margin at each end. The liner's top edge (skived) should sit about 5 mm below the top edge of the shell.
Once everything is bonded and dry (give it 10 minutes), fold the wallet in half to check alignment. The card pockets should sit evenly on each panel.
Mark and Punch Stitch Lines
This is the step that determines how professional the wallet looks. Take your time.
- Set the wing divider to 3.5 mm (⅛ in) and run it along every glued edge to scribe a stitch line. Keep the fence against the leather edge; the scribing tip marks a parallel line.
- Clamp the wallet in a stitching clamp or between two boards in a vise, grain side facing you.
- Place the 4-prong chisel on the stitch line, prongs perpendicular to the leather face, and strike with the mallet. Punch the first set of holes, then move the last prong of the chisel into the last punched hole to space consistently. Use the 2-prong chisel to navigate corners.
- Punch through both layers simultaneously wherever the pocket meets the shell. This ensures the holes line up on both sides.
Work on a dense rubber mat or thick piece of scrap leather to protect your cutting surface and allow the prongs to fully clear.
Saddle Stitch
Cut a thread length roughly 3× the stitch line length (longer than you think). Thread a needle on each end and wax both lengths with beeswax.
- Push the first needle through the first hole from back to front, pull thread to the midpoint.
- Push the right needle through the next hole from front to back.
- Before pulling tight, pass the left needle through the same hole from back to front, going over the right needle's thread loop. This is the saddle stitch lock.
- Pull both needles snug in opposing directions. Even tension gives uniform stitches.
- Continue to the end. To finish, backstitch 2–3 holes, then trim flush and melt thread ends lightly with a lighter if using polyester, or press flat with a hot fid if using linen.
Go slowly on your first pass. Rhythm matters more than speed.
For the card pockets, stitch the bottom and sides (three sides), leaving the top open. For the bill liner, stitch only the two short ends and the bottom long edge; the top stays open for notes. If you want to practice this kind of stitching on something smaller first, our beginner card holder guide covers the same techniques on a single pocket.
Bevel and Burnish the Edges
Raw edges left square look unfinished and wear quickly. Two tools fix this.
Beveling: Run an edge beveler along every exposed edge, both grain side and flesh side. Hold it at about 45° and push with consistent pressure. This rounds off the sharp corner and gives the edge a slight chamfer to burnish against.
Burnishing:
- Sand the edges with 220-grit, then 400-grit. Knock off any fuzz.
- Apply a small amount of Tokonole or gum tragacanth to the edge with a fingertip.
- Rub briskly with the grooved side of a wooden edge slicker or a piece of canvas. Friction generates heat and seals the fibers. The edge should become smooth and slightly glossy.
- Repeat: another fine sand with 400-grit, another compound application, another burnish. Two cycles is usually enough for veg-tan; chrome-tan can take three.
The fold line of the bifold is the trickiest edge to reach cleanly. Use the tip of the slicker or wrap a strip of canvas around a dowel for access.
For more practice with edge finishing before cutting into a full wallet, the leather keychain project is a quick way to get the motion down on small pieces.
Final Assembly and Fold Break
Before folding for the first time, dampen the spine of the main shell very lightly with a damp cloth, targeting just the fold line. This step applies to veg-tan; chrome-tan doesn't need it. Press the wallet firmly closed and hold for a minute. This sets a clean fold rather than a crease.
Let the wallet dry flat for an hour, then load it with a few cards to shape the pockets. The card pockets will relax and conform to their contents over the first few days of use.
Total finished thickness should be around 8–10 mm (⅜ in) when loaded, comparable to a commercial bifold. If it's noticeably thicker, the issue is usually leather that was too heavy; 3 oz leather assembles more easily than 4 oz for a first build.
Once you're comfortable with this build, the techniques transfer directly to longer projects like a leather belt, where the same skiving and edge finishing skills do most of the work.
FAQ
What weight of leather is best for a beginner wallet?
3–3.5 oz (1.2–1.4 mm) is the easiest starting point. It's thin enough to layer without bulk, skives cleanly, and punches without resistance. 4 oz works but the finished wallet will be slightly thicker. Anything over 4 oz is hard to fold without pre-dampening.
Can I use chrome-tan instead of veg-tan?
Yes. Chrome-tan is softer, more pliable, and doesn't need edge dampening to fold. It doesn't burnish to the same glossy finish as veg-tan, but it still cleans up well with Tokonole. Many commercial wallets use chrome-tan for exactly this reason. The one adjustment: be more careful applying contact cement to the smooth grain side; scuff it lightly with sandpaper first.
My stitch line wanders. How do I keep it straight?
The wing divider only works well if you keep the fence firmly against the leather edge throughout the stroke. Practice on a scrap with long, slow pulls. If the edge itself is wavy, the stitch line will be too, so clean cuts matter upstream. A stitching groover (which cuts a small channel rather than just scribing) gives slightly more guidance.
Do I need a stitching clamp?
Not strictly. Two pieces of scrap wood, a vise, or even a thick book held between your knees can work. The goal is to hold the leather stable so you can strike the chisel or pull thread without the work shifting. A proper stitching pony or clamp just makes it less fatiguing on longer seams.
How do I fix a stitch hole I punched in the wrong place?
If it's one rogue hole off the line, carefully push a blunt awl through from the back to partly close it, then glue a thin scrap of matching leather to the back side. Most of the time it won't show once the wallet is stitched and folded. If you've punched a whole section incorrectly, cut a fresh piece; trying to stitch over badly placed holes rarely looks good.