How to Make a Leather Card Holder (Beginner Project)
Step-by-step guide to making a hand-stitched leather card holder from scratch. A beginner-friendly project with pattern, tools list, and clear instructions.
A leather card holder is one of the best first projects you can take on: it's small enough to finish in an afternoon, uses minimal materials, and teaches the core skills you'll reach for in every project after it. Here's how to make one from start to finish.
What You'll Need
Getting your materials and tools sorted before you cut anything saves frustration mid-project.
Leather
Pick 3–4 oz vegetable-tanned leather (roughly 1.2–1.6 mm thick). Veg-tan cuts cleanly, accepts burnishing well, and takes tooling or dye if you want to go further later. Chrome-tan also works fine; it's softer and already pliable, which suits a card holder that needs to flex, but it won't burnish to as glassy a finish and requires an adhesive rated for chrome-tan.
A single bend of 3–4 oz shoulder is plenty. You need roughly 25 cm × 15 cm (10 in × 6 in) of usable leather for the three-piece pattern below, so scraps from a larger hide work perfectly.
Tools
- Swivel knife or utility knife with a fresh blade (dull blades drag and tear)
- Steel rule and a cutting mat or glass cutting board
- Wing divider or stitching groover to mark the stitch line
- Pricking iron or diamond chisel (3–4 mm spacing, 2–4 tines)
- Maul or mallet (rawhide, nylon, or poly; not a metal hammer)
- Two blunt-tip harness needles
- Waxed linen or polyester thread, 0.8 mm, in a colour you like
- Contact cement (Barge, Renia Colle de Cologne, or equivalent)
- Edge beveler, size 1 or 2
- Slicker or wooden dowel for edge burnishing
- Beeswax or Tokonole for edges and back
- Bulldog clips or binder clips (5–6)
- Scratch awl and ruler for layout
Optional but useful: a bone folder for creasing fold lines before cutting.
The Pattern
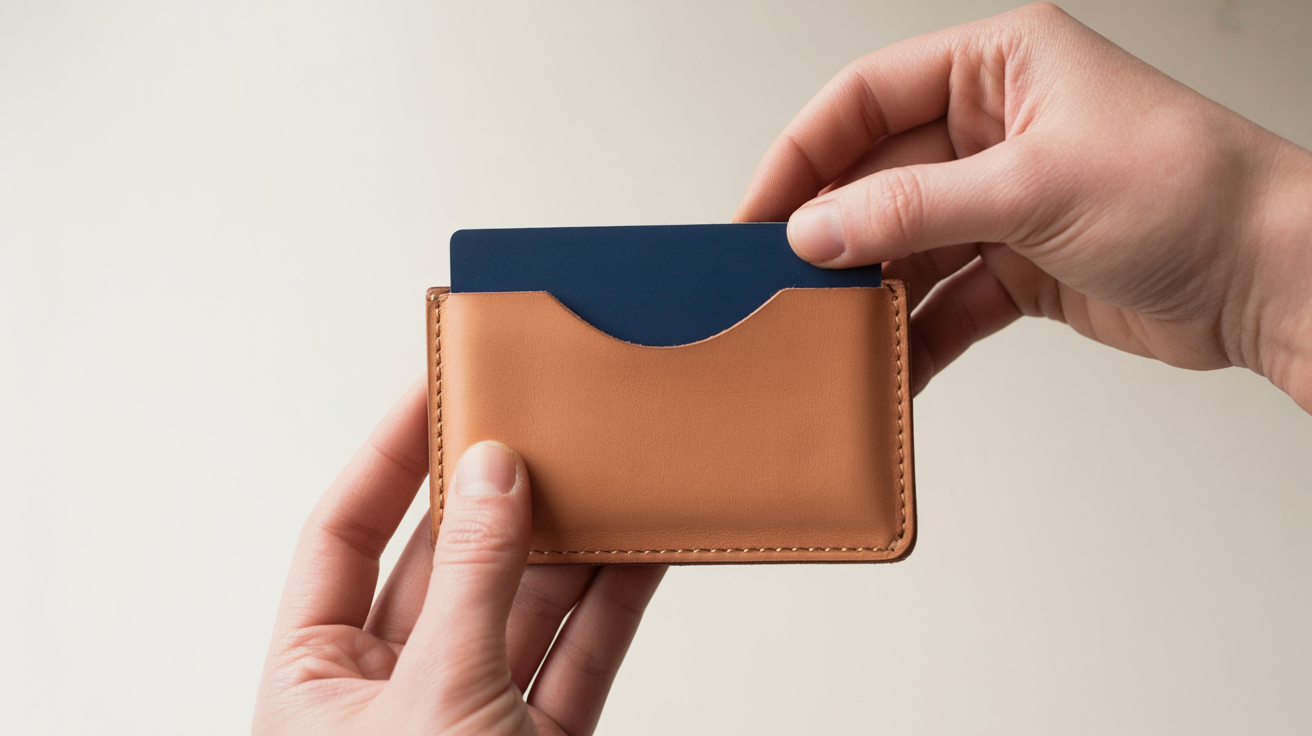
This card holder uses three pieces: a back panel, a front pocket, and a card slot panel that sits inside and lifts cards for easy access.
| Piece | Width | Height | Notes |
|---|---|---|---|
| Back panel | 10 cm / 4 in | 7.5 cm / 3 in | Full exterior |
| Front pocket | 10 cm / 4 in | 6 cm / 2.4 in | Sits slightly lower than back panel |
| Card slot panel | 10 cm / 4 in | 4.5 cm / 1.8 in | Taller than front pocket by 1.5 cm for the finger notch |
The finished holder fits standard credit cards (85 × 54 mm / 3.4 × 2.1 in) with a bit of room. If you want a tighter fit, trim 3–4 mm off the width.
Sketch these directly onto your leather with a scratch awl and ruler, or print a paper template at 100% scale and trace around it. Scribe lightly; you're marking the cut line, not the stitch line.
Step-by-Step Instructions
Step 1: Cut Your Pieces
Place your leather flesh-side down on a cutting mat. Hold the steel rule firmly, with your knuckles overhanging the edge to stop it shifting. Draw the swivel knife toward you in one smooth pass. If you don't cut through on the first pass, make a second pass along the same line rather than steering off course.
Cut all three pieces. Stack them to check that the widths match exactly and trim any overhang with the rule before moving on.
Step 2: Bevel and Prep Edges
Use the edge beveler on both faces of every edge you won't be gluing: the top of the back panel, the top edges of both pocket pieces, and the side and bottom edges of the front pocket's lower half. Beveling now, before assembly, is much easier than reaching interior edges after the pieces are glued together.
After beveling, dampen the edges slightly with a finger dipped in water (veg-tan only), then rub firmly with a slicker or the rounded end of a dowel. You're compressing the leather fibres, which closes the grain and sets up a polished finish later. Repeat after applying Tokonole or beeswax.
Step 3: Mark Stitch Lines
Set your wing divider or stitching groover to 3 mm (⅛ in) from the edge. Run it along the sides and bottom of the front pocket piece, and along the sides and bottom of the back panel. You're cutting a shallow channel that keeps stitches recessed so they don't wear as quickly.
If you only have a wing divider, it scores a line without removing material. Either tool works fine. Keep it pressed against the edge as a guide throughout the pass.
Step 4: Glue the Layers
Wipe both gluing surfaces with a scrap of leather to remove dust. Apply a thin, even coat of contact cement to the flesh side of the front pocket and to the corresponding area of the back panel's grain side. Let both surfaces dry until tacky but not wet; usually 5–10 minutes depending on humidity.
Align the pieces carefully before pressing. Contact cement bonds almost immediately on contact, so take a moment to line up the bottom edges and sides before you commit. Press firmly along the full surface and clamp with bulldog clips along the edges. Let it cure for at least 20 minutes.
Repeat for the card slot panel: glue it to the back side of the front pocket, centred, with its bottom edge flush.
Leathercraft adhesives contain strong solvents. Work in a ventilated space and keep them away from open flame.
Step 5: Punch the Stitch Holes
Place the glued assembly on a firm surface. A thick piece of scrap leather or an end-grain wood block works better than a soft cutting mat, which absorbs impact and requires extra mallet force.
Line up your diamond chisel on the scribed stitch line and strike with the mallet. Overlap the last tine from each set into the first tine position of the next to keep spacing even around corners. If you're punching through multiple layers, add a little more force but stay consistent so the holes stay on line.
Work around the sides and bottom. Leave the top edges unpunched; they're finished open. This is the step most beginners rush. Take your time, because uneven holes show clearly in the finished stitching.
Step 6: Saddle Stitch
Cut a length of thread about 3.5 times the total stitch run. Thread a needle on each end. See the simple leather wallet guide for a detailed walkthrough of two-needle saddle stitching if this is your first time.
Pass the right needle through the first hole from front to back, pulling thread to equal lengths on both sides. Now pass the left needle through the same hole from front to back, catching it over the right thread to lock the stitch. Pull both threads snug after every stitch with equal tension; uneven pulling creates a twisted seam.
At the last hole, backstitch through the previous two holes to lock the end, trim the thread to about 3 mm, and melt the tip lightly with a lighter or thread burner. Press it flat with a piece of scrap leather while still warm.
Saddle stitching is stronger than machine stitching because if one stitch breaks, the rest hold. The leather keychain project is a good place to practice stitching on a single-layer piece before tackling wallets.
Step 7: Final Edge Finishing
With the holder assembled, bevel any edges you couldn't reach before, mainly the glued side edges where the pocket meets the back panel. Work carefully near the stitching.
Apply Tokonole or a small amount of melted beeswax to the edges. Burnish vigorously with a slicker or dowel until the fibres are compressed and the edge feels almost hard. Dampen the edge again if it starts drying out before you're satisfied.
For a deeper finish on veg-tan, apply leather conditioner or neatsfoot oil compound to the grain side and buff with a soft cloth. This darkens the leather slightly and adds suppleness without collapsing the structure.
Step 8: Load and Break In
Slide a few cards in and give the holder a day or two before daily use. Veg-tan will begin to conform to the cards almost immediately. If the pockets feel stiff at first, that's normal; the leather relaxes with use.
Variations to Try Next
Once you're happy with the basic card holder, a few easy variations are worth trying. Adding a simple center-seam divider creates a cash slot between the two card pockets. Dyeing the leather before assembly lets you create sharp colour contrast between the front pocket and back panel. Skiving the edges of the pocket pieces on the flesh side before gluing reduces assembled bulk noticeably and makes the holder sit flatter in a front pocket.
If you want to push further into wallet construction, the leather belt project introduces skiving in more depth.
FAQ
What weight of leather is best for a card holder?
3–4 oz (1.2–1.6 mm) is the reliable choice. Lighter than 3 oz won't hold its shape well. Heavier than 4 oz makes the holder too bulky to sit comfortably in a pocket unless you skive the edges down before assembly.
Can I use chrome-tan instead of veg-tan?
Yes. Chrome-tan is softer and more supple, which some people prefer for a slim wallet. It's harder to burnish to a polished edge, and you need to use an adhesive rated for chrome-tan since some contact cements bond poorly to it. Test a scrap piece with your glue before committing.
How do I keep the stitch line straight?
A stitching groover guided against the leather edge gives you a physical channel to follow. If you don't have one, a wing divider set to a consistent distance from the edge scribes a visible guide line. Running the tool slowly in one steady pass is more accurate than trying to freehand it.
My stitch holes don't line up at the corners. What went wrong?
Corners are tricky. The fix is to mark the corner hole first with a single-tine awl, then work toward it from both sides, adjusting spacing so the last regular punch lands on or just before that corner hole. It takes a bit of arithmetic, but it becomes instinct after a few projects.
How long does this project take for a first-timer?
Expect 3–5 hours including drying time for the glue. Cutting and prep take about 45 minutes; stitching is the longest single step at an hour or more if you're learning the saddle stitch rhythm. Don't rush the contact cement; let it reach proper tack or the bond will be weak.