How to Make a Leather Keychain (Easy First Project)
Learn how to make a leather keychain from a single strip of veg-tan. Step-by-step beginner tutorial with materials list, stitching, and finishing tips.
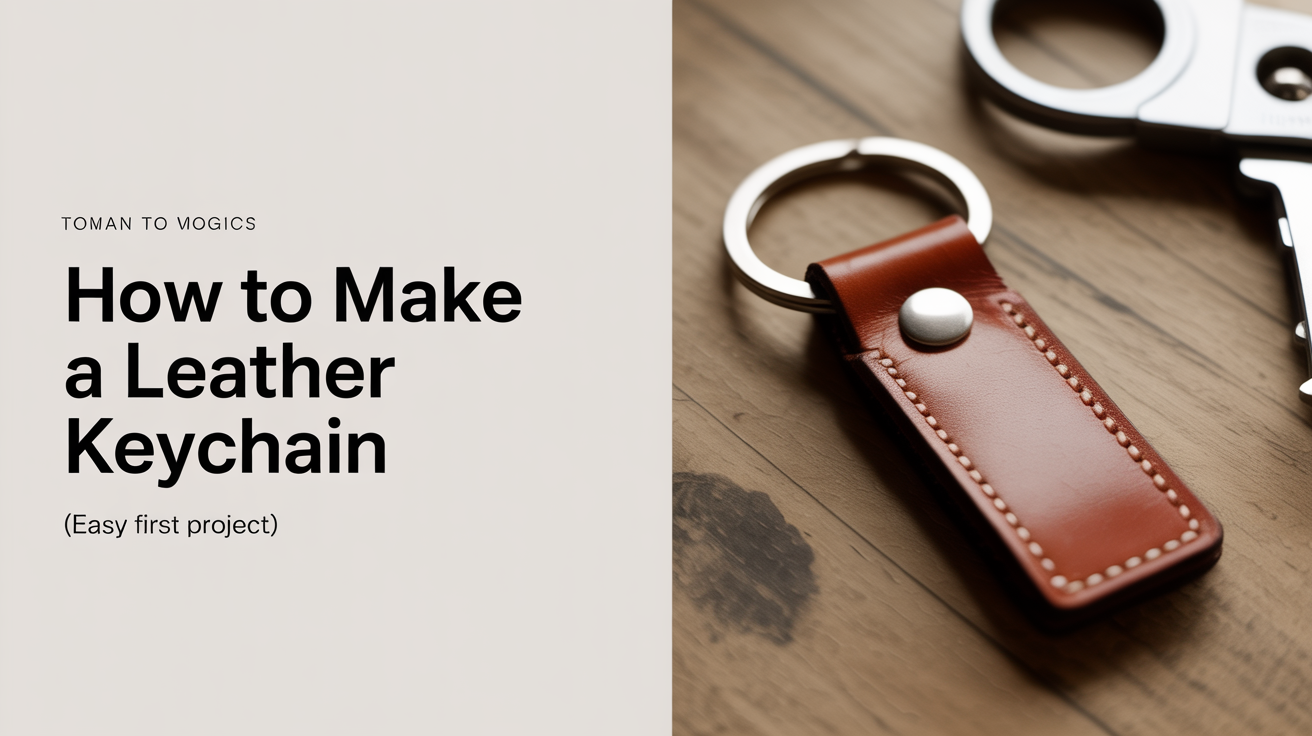
A leather keychain is one of the fastest, most satisfying beginner projects you can do. You need only a palm-sized scrap of leather, a split ring, and maybe 90 minutes of focused work.
What You'll Need
Keep this list short. A keychain doesn't demand a full workshop setup.
Leather
- One strip of 6–8 oz vegetable-tanned leather, roughly 4 in × 1 in (10 cm × 2.5 cm). Veg-tan holds its shape after burnishing and accepts dye well. Chrome-tan is fine for the snap-tab variation below, but avoid it for stamping; it won't take impressions.
- A small scrap of the same leather for testing dye and finishes.
Hardware
- One split ring, 1 in (25 mm) diameter (standard key ring size)
- Two copper or brass rivets, 3/16 in (5 mm) post, if you're setting a rivet tab (or)
- Waxed thread, 0.8 mm, in natural, black, or saddle tan if you prefer to saddle-stitch the fold closed
Tools
- Swivel knife or wing divider (optional, for a decorative border line)
- Hole punch or hollow punch, 3/16 in (5 mm)
- Rivet setter and anvil block, or a pricking iron and stitching chisels if saddle-stitching
- Edger/bevel tool, size 1 or 2
- Bone folder or wood slicker for burnishing
- Small dauber or wool dauber for dye and finish
Finishes
- Leather dye, spirit-based or water-based, your choice (test on scrap first)
- Tokonole, gum tragacanth, or beeswax for edge burnishing
- A leather finish or conditioner (resolene, neatsfoot oil, or a wax-based finisher)
Cutting and Shaping the Blank
Start by marking your strip: 4 in × 1 in (10 cm × 2.5 cm) is a reliable starter dimension. If you want a slightly wider fob, 1.25 in (3.2 cm) looks good and is still easy to handle. Cut with a sharp rotary cutter or head knife against a metal ruler on a self-healing mat. Dull cuts leave ragged edges that are hard to clean up later. If your knife drags, strop it before continuing.
Round the corners. Use a corner-rounding punch (3/8 in / 9.5 mm radius works well) or trace a coin and trim by hand. Rounded corners burnish more evenly and catch on pockets less.
Fold the strip in half over the split ring, flesh-to-flesh, so the ring sits in the fold and the two grain-side faces point outward. Hold it lightly in place; don't set the rivets yet.
Making the Fold: Rivet Tab vs. Saddle-Stitch
You have two clean ways to close the fold. Both are correct; pick based on what tools you have.
Option 1: Copper Rivet Tab
Mark two rivet holes through both layers, roughly 3/8 in (9.5 mm) and 1 in (2.5 cm) from the open end. Keep them centered on the strip width. Punch through both layers at once with your hollow punch; this guarantees the holes align. Set a copper rivet at each hole: slip the post up through the bottom layer, through the top, then cap and peen with the setter until the cap is seated flat. Don't hammer so hard you deform the leather around the hole.
Two rivets are enough. One rivet in the middle is technically sufficient but tends to let the layers gap apart over time.
Option 2: Saddle-Stitched Tab
Mark a stitch line 3/16 in (5 mm) from the open edge using a wing divider or stitching groover. With a pricking iron, punch evenly spaced holes through both layers (3 to 5 holes is plenty for this size). Saddle-stitch with a two-needle harness thread technique: both needles cross through each hole so the thread locks even if one side breaks. Tie off with a square knot, trim close, and melt the ends lightly if using synthetic thread.
Saddle-stitching takes longer but produces a cleaner, more refined look, and it's particularly satisfying on a first project because you can see your technique improve hole by hole.
Beveling and Burnishing the Edges
This step separates a rough prototype from a finished piece. It takes ten minutes and makes an enormous difference.
Run an edge beveler around every edge: all four sides of the folded tab, including the fold itself. You're removing a tiny 45-degree chamfer to eliminate the sharp square corner. Hold the beveler at a consistent angle and pull with smooth, even pressure.
Dampen the edges slightly with water (a cotton swab works). Apply a small amount of Tokonole or gum tragacanth to the edge, then burnish back and forth with a bone folder or wood slicker until the fibers compact and the edge goes shiny. Work in short sections. The edge should go from fuzzy to glassy. If it stays rough, you may need to re-dampen and burnish harder.
Burnish the back (flesh) side of the fob as well, especially any exposed flesh-side area near the fold.
Dyeing and Finishing
Work in a well-ventilated space and protect your surface. Spirit-based dyes penetrate fast and don't wash out.
Apply dye with a wool dauber or folded piece of scrap cloth using small circular motions. Work one face at a time. Two thin coats give better, more even coverage than one thick coat. Let the first coat dry fully before the second: usually 10–15 minutes for spirit-based dye, longer for water-based.
After dyeing, apply your topcoat or conditioner. A wax-based finisher (Aussie Conditioner, leather balm) gives a soft, matte result. Resolene diluted 50/50 with water gives a harder, slightly shiny finish that resists water and scuffing, which makes it a good choice for something that'll live in a pocket daily. Buff lightly after it dries.
Optional: Stamping and Personalization
If you want to add initials or a simple decorative stamp, do it before dyeing. Stamps only read clearly on undyed, slightly damp veg-tan.
Case the leather first: dampen the grain side evenly until it darkens slightly and starts to feel cool to the touch. Let it sit 2–3 minutes so the moisture equalizes. Then set your stamp centered on the face and strike once with a mallet. A single clean blow reads better than several timid taps. If you want to add an initial, alphabet stamps are inexpensive and available in a few sizes; 1/4 in (6 mm) suits this strip width.
A simple border line cut with a swivel knife or divider around the perimeter also looks sharp and takes about two minutes.
Three Quick Variations
Once you've made one, you'll want to make several.
Looped fob. Cut the strip to 6 in (15 cm) and loop it once before closing with rivets. Looks chunkier and is easier to find in a bag.
Tab with snap. Replace one rivet with a line 20 snap set horizontally across the tab. The fob then clips open for attaching cards or small items. Useful if you add the keychain to a simple leather wallet.
Braided keyfob. Cut three strips 1/4 in × 8 in (6 mm × 20 cm), loop all three through the split ring at the fold, and braid down toward the tail before tying off or riveting. More advanced, but entirely doable once you're comfortable with the basic strip.
From Here
A keychain is a genuinely complete project, not a throwaway warmup. The skills you practice here (accurate cutting, clean hole punching, edge beveling, and finishing) transfer directly to a leather card holder and eventually a full leather belt.
FAQ
What weight of leather is best for a keychain?
6–8 oz veg-tan is ideal. It's firm enough to hold its shape after folding but not so stiff that it cracks when bent. Thinner (2–3 oz) splits and tools too easily for something that takes daily handling.
Can I use chrome-tan leather instead of veg-tan?
Yes, with limitations. Chrome-tan is softer and more supple, which can feel nicer in hand, but it doesn't burnish as cleanly, won't accept stamps, and tends to stretch over time at the rivet holes. Veg-tan is the better choice for a first project because every finishing step is more predictable.
How many stitches do I need for a saddle-stitched tab?
For a 1 in (2.5 cm) strip closed with saddle stitch, 3–5 holes at 4 mm spacing is plenty. More stitches don't add structural strength on this small a panel; the thread length and tension matter more than the count.
My rivet is loose after setting. What went wrong?
Usually one of two things: the post was too long (more than 1.5× the combined leather thickness), leaving slack under the cap, or the cap wasn't seated fully before peening. Use a rivet setter that matches your cap diameter exactly. If the rivet spins rather than grips, the hole may be slightly too large. Punch a fresh hole nearby and reset.
Do I need to seal the dye before the finish coat?
With spirit-based dye, yes. Apply a fixative or let the dye cure for a full hour before topcoating. Otherwise the finish can lift color onto your hands later. Water-based dye needs less curing time but benefits from a seal coat all the same.