How to Make a Leather Tool Roll or Pouch
A beginner-friendly guide to making a leather tool roll or simple leather pouch from scratch, with cutting, stitching, and finishing steps.
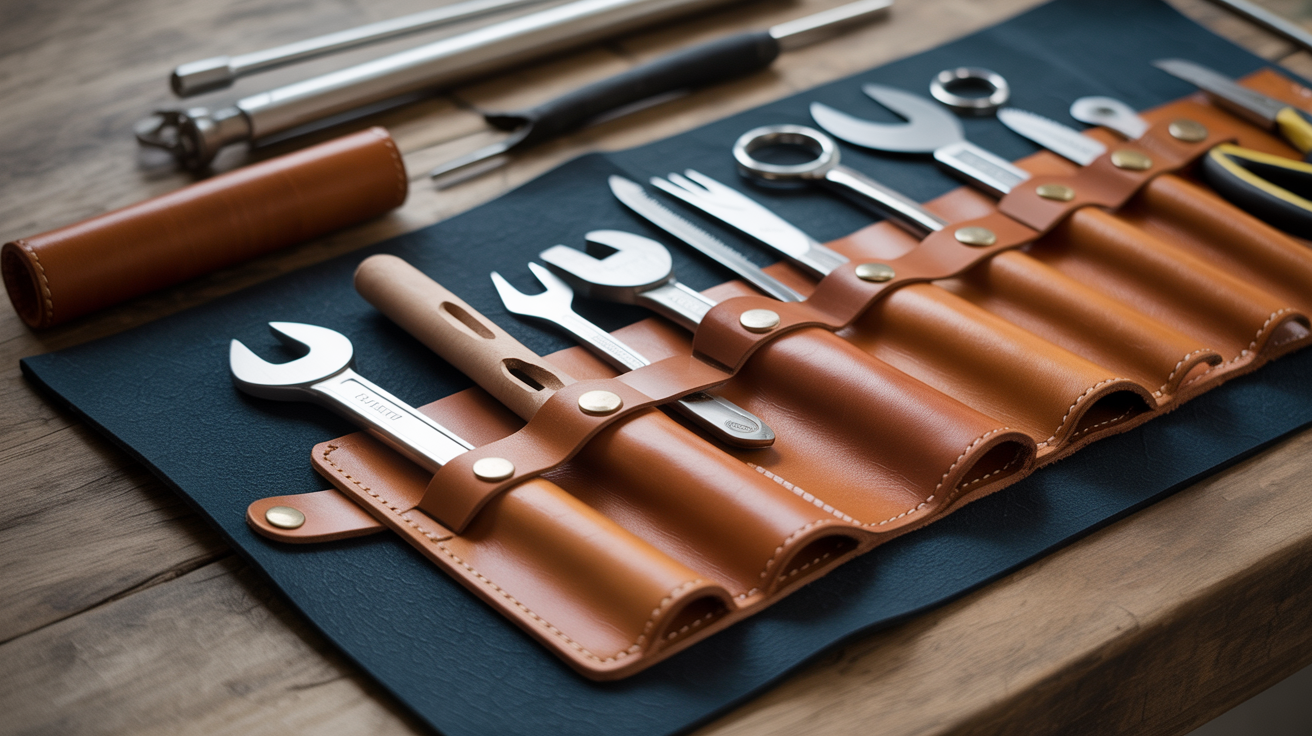
A leather tool roll keeps your chisels, punches, and blades organised without a bulky box, and it's one of the most satisfying starter projects you can make. You cut a single rectangle, fold it, stitch two sides, and add loops or a pocket for the tools. The whole thing takes a few hours and uses almost no hardware.
This guide walks through both a basic leather tool roll (loops only) and a simple zip or fold-over pouch variation so you can choose the shape that fits what you need to carry.
What You Need Before You Start
Keep the materials list short. This is a flat-panel project, so you do not need exotic leather or complicated tools.
Leather: 3 oz to 4 oz vegetable-tanned leather works well. It is firm enough to hold its shape when folded but thin enough to stitch by hand without much effort. A piece roughly 12 inches by 18 inches is enough for a roll that holds eight to ten tools. Test on scrap first, especially if you are new to saddle-stitching.
Tools you will use:
- Utility knife or head knife for cutting
- Steel ruler and scratch awl for marking
- Stitching chisels or pricking irons (3.5 mm to 4 mm spacing suits this weight)
- Harness needles (two) and waxed linen or polyester thread
- Edge beveller
- Wing divider or groover for the stitch line
- Bone folder or wooden slicker for burnishing
Optional for a pouch variation:
- Snap setter and a medium-weight snap
- A thin piece of lining leather (2 oz) if you want an inside panel
If you are still building your toolkit, the beginner card holder project uses the same set of tools and is a good warm-up before tackling a roll.
Cutting Your Leather Tool Roll Pattern
The classic tool roll is a single rectangle with a narrower flap that folds over the top when rolled up.
Basic dimensions for a medium roll:
- Main body: 12 inches wide by 11 inches tall
- Flap (top strip that tucks over rolled tools): cut as part of the same piece, or add a separate 12 by 3 inch strip stitched to the top edge
For a simple pouch instead, cut two rectangles of the same size and stitch three sides. The open top becomes the mouth of the bag. Add a snap or a fold-over flap to close it.
Mark your leather on the flesh (rough) side with a silver pen or scratch awl. Cut against a metal ruler. Take your time on the long cuts; a slight curve will show when the piece is folded. Skive (thin down) the edges you plan to fold over, especially the flap if it is separate, so they lie flat when you roll the leather up.
Marking the Tool Loops
For a tool roll, loops are the functional heart of the project. You can make them from the same leather or use a thinner scrap for the loop strip.
Cut a strip about 2.5 inches wide and the full 12-inch width of your roll. This becomes all the loops at once. Fold it in half lengthwise so it stands about 1.25 inches tall. Bevel and burnish the top folded edge before you stitch it to the main panel.
Position the loop strip about 2 inches up from the bottom of the main panel. Stitch across the bottom of the strip to attach it flat. Then stitch vertical dividers to form individual pockets. Space them based on what you carry: chisels might need 0.75 inch wide slots; a skiving knife needs 1.5 inches. Mark the divider lines lightly with an awl before stitching.
Use your wing divider to set a stitch line about 3 mm from the edge of the strip. Run your stitching chisel along that line to punch the holes, then saddle-stitch each divider with a short length of thread. Keep your tension even so the loops do not pucker.
Stitching the Sides
Once the loop strip is attached, fold up the bottom of the main panel so it overlaps the base of the loop strip by about half an inch. This creates a shallow pocket below the loops that can catch small items or keep the loops from splaying.
Punch holes along both long sides of the roll (left and right edges). Saddle-stitch those edges closed. This encloses the bottom and turns the flat panel into a proper roll that holds its shape.
If you are making a pouch instead, place the two cut panels flesh-side together and punch through both layers at once. Stitch three sides with a double-start and double-end lock stitch so the corners hold. Clip the bottom corners before turning, or bevel them if you are leaving the pouch flat rather than turning it inside out.
For more detail on saddle-stitching tension and starting knots, see the guide on making a simple leather wallet by hand, which covers the same technique on a flat panel.
Edge Finishing and Closure
A finished edge makes this project look deliberate rather than rough. Bevel all outer edges with an edge beveller, then rub them with beeswax or gum tragacanth and burnish with a wooden slicker or the back of a bone folder. Two or three passes gives a smooth, rounded edge.
Closure options for a tool roll:
| Closure type | Difficulty | Best for |
|---|---|---|
| Leather lace tie | Easy | Keeps the roll tightly coiled |
| Snap | Moderate | Flat pouches, quick access |
| Belt loop with buckle | Moderate | Larger rolls with many tools |
| Fold-over flap only | Easiest | Lightweight or decorative rolls |
For a tie closure, cut a thin strip about 0.5 inch wide and 24 inches long from your scrap. Skive one end and stitch or rivet it to the back of the roll at the centre. Wrap it around the rolled tool holder and tie a simple knot. This is the most common finish for a leather tool roll project and the one you see on traditional carpenters' rolls.
If you want a snap closure on a pouch version, punch the snap hole before stitching so the setter does not distort the stitched panel. Use a cap snap on the outside flap and a socket on the body.
Dyeing and Conditioning (Optional)
Vegetable-tanned leather takes dye well before assembly, but you can also finish the completed piece. If you dye after assembly, mask the stitching with tape so the thread stays its original colour.
Apply alcohol-based dye in thin, even coats with a wool dauber. Let each coat dry fully before adding the next. Two or three coats usually give a solid colour on 3 to 4 oz leather. Follow with a leather conditioner or neatsfoot oil compound to restore suppleness that the tanning and dyeing process removes.
If you skip dyeing, a coat of conditioner alone will darken natural veg-tan to a warm honey colour that deepens with use. Many leathercrafters prefer this finish for tool rolls because the patina that develops over months of use becomes part of the look.
Once you are comfortable with this project, a leather belt from scratch uses similar straight cuts and the same saddle-stitch, and gives you practice with a longer, even edge finish.
Frequently Asked Questions
What leather weight should I use for a tool roll? 3 oz to 4 oz vegetable-tanned leather is the most practical choice. Lighter than 3 oz and the roll loses structure; heavier than 5 oz becomes hard to fold and stitch by hand. Chrome-tanned leather works but does not burnish as cleanly.
Do I need a sewing machine for a leather tool roll? No. A saddle-stitch done by hand with two needles and waxed thread is stronger than machine stitching for this kind of project because each stitch locks independently. A machine is faster, but hand-stitching is the right method here.
How long does a beginner leather tool roll project take? Expect three to five hours for your first attempt. Cutting and marking takes about an hour. Punching and stitching the loops takes another hour or more if you are still building speed. Edge finishing adds another thirty to sixty minutes. The second roll you make will take roughly half as long.
Can I make a tool roll without a stitching chisel? You can use a single-prong awl to mark and pierce each hole individually, but spacing will be harder to keep consistent. A four- or six-prong stitching chisel speeds up the process and keeps rows straight. If you only have an awl, mark the stitch line first with a wing divider and space holes by eye against a ruler.
What size loop strip works for most tools? A 2.5-inch-wide strip folded in half gives loops about 1.25 inches tall, which suits most hand tools up to a small gouge. For larger tools like a mallet or heavy carving knives, make the strip 3.5 inches wide so the loops stand taller and the tool heads cannot pull free when the roll is carried.