How to Glue Leather Before Stitching
Learn how to glue leather before stitching with contact cement or leather glue, including prep, application, and ventilation safety for beginners.
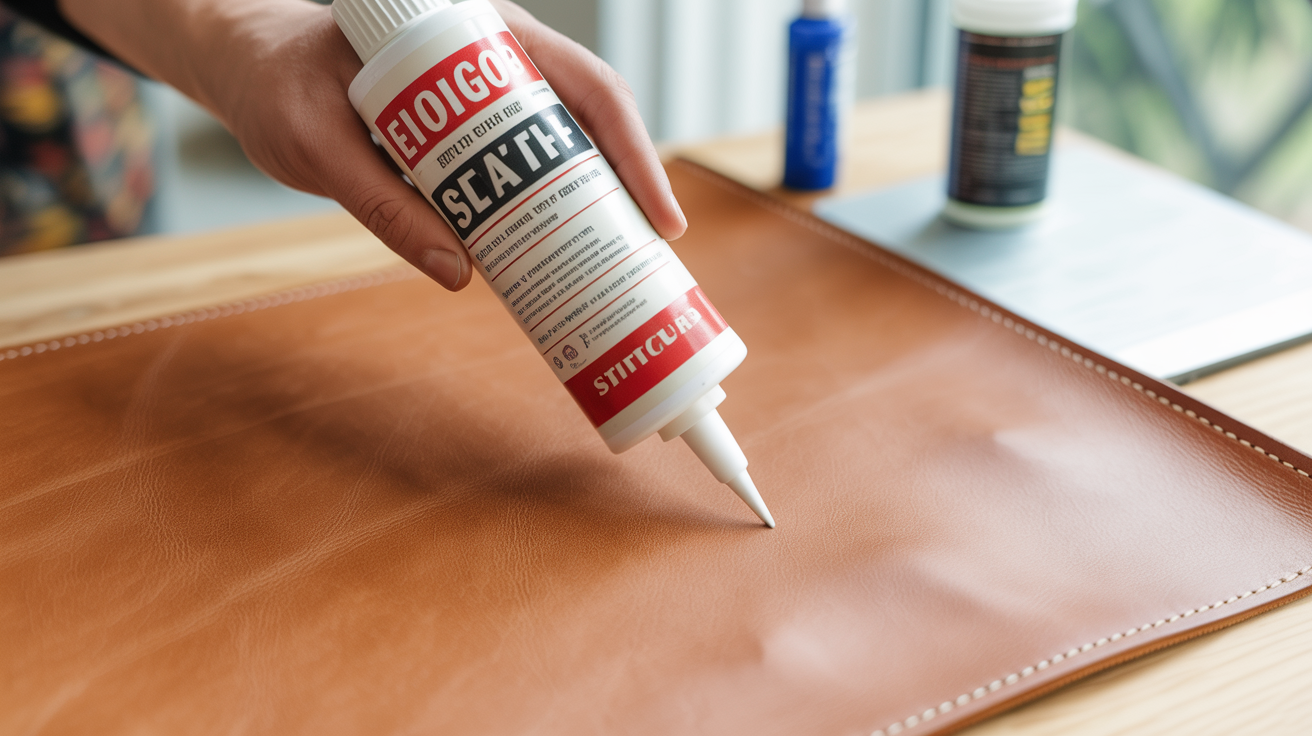
Gluing leather before stitching keeps your layers from shifting while you mark and punch your stitch line. Without it, even a light bump can slide two pieces apart mid-project and ruin your stitch spacing. The good news: this step takes about ten minutes once you know the process, and it makes everything that follows cleaner.
Why Glue Matters in Leathercraft
Leather glue is a temporary-to-permanent bond that holds your pieces in alignment while you work. It is not meant to replace thread. The stitching carries the real structural load; the glue just keeps things still.
That distinction matters for picking the right adhesive. You want something that grips firmly enough to prevent movement but does not stiffen the leather so much that the needle has trouble passing through. Most beginners are choosing between two options: contact cement and water-based leather glue.
Choosing the Right Glue
Contact cement (sometimes sold as rubber cement or neoprene cement) is the traditional choice in leatherworking. It creates a very strong, flexible bond and works on veg-tan, chrome-tan, and most other leathers. The drawback is the fumes. Contact cement contains solvents that build up in enclosed spaces fast. Open a window, run a fan that pulls air away from you, and keep the container closed when you are not actively applying.
Water-based leather glue (brands like Tandy's Leather Weld or similar products) is lower odor and easier to clean up while wet. The bond is slightly less aggressive, which some beginners actually prefer because it gives you a little time to reposition before the adhesive sets. It works well for most hobby projects.
A quick comparison:
| Type | Bond Strength | Drying Time | Odor | Repositionable? |
|---|---|---|---|---|
| Contact cement | Very strong | 5-10 min to tacky | High (solvent fumes) | No |
| Water-based leather glue | Moderate-strong | 10-20 min to tacky | Low | Brief window |
For thicker leather or anything that will see regular stress (belts, bag straps, wallets), contact cement is the more reliable choice. For lighter projects or anyone sensitive to fumes, water-based glue is a practical alternative.
Preparing the Leather Edges
Clean surfaces bond far better than raw ones. Dust, oils from your hands, and any surface finish all reduce adhesion. Before you open your glue, do these two things.
Rough the glue zone. Using sandpaper (120-grit works well), lightly scuff the area where glue will go. On most leathers you are only sanding the flesh side (the rough, inner side) or the edge area. You want the texture to grip the adhesive. Do not sand the grain side unless you intend to glue grain-to-grain, which is less common.
Wipe with a deglazer or acetone. A quick pass with a deglazer or a small amount of acetone on a cotton pad removes surface oils. Let it dry completely before applying any adhesive, usually just a minute or two.
If you skip prep, do not be surprised when your bond fails under light tension. Prep is most of the work.
Applying Contact Cement
This is where most beginners go wrong. Contact cement is not applied to one piece and then pressed together. You coat both surfaces, wait, then join them.
- Work in a ventilated area with a fan blowing fumes away from your face. Do not work in a closed room.
- Apply a thin, even coat to both leather pieces in the glue zone. Use an old brush, a scrap of cardboard, or the applicator that comes with the container.
- Wait until both surfaces are tacky but no longer wet. Press your finger lightly on one surface. It should feel sticky but not transfer glue to your skin. This usually takes five to ten minutes depending on temperature and humidity.
- Align your pieces carefully before they touch. Once contact cement surfaces meet, the bond is immediate and very hard to separate without damage.
- Press firmly along the entire glued area. A roller or the flat of a bone folder helps push out air pockets and ensures full contact.
Thin coats bond better than thick ones. A thick coat stays wet longer and can squeeze out and stain the leather surface around your stitch line.
Applying Water-Based Leather Glue
The process is similar but with a little more forgiveness.
Apply glue to one surface only (check your product instructions, as some require coating both). Spread it thinly and evenly. Wait for the surface to become tacky, roughly ten to twenty minutes. Join the pieces and press firmly. You often have a short window to slide and adjust position before the bond sets fully. Once it feels firm, roll or press it again.
Let the bond cure for the time your product recommends before you start punching or stitching. Rushing this step can pull the pieces apart.
Stitching Through Glued Leather
Glued leather stitches the same way as unglued leather, though you may notice slightly more resistance as the needle passes through the adhesive layer. This is normal.
To see how to mark and punch your stitch line before you sew, read through how to cut leather cleanly. Once your holes are punched and your layers are held securely in place, how to hand-stitch leather using the saddle stitch walks you through the actual sewing process start to finish.
If you are still deciding on hole-punching tools, pricking irons vs stitching chisels explains the difference and which one makes more sense to buy first.
Frequently Asked Questions
Can I skip gluing and just punch and stitch?
For simple two-layer pieces with edges that are easy to hold still, some people do skip the glue step. The risk is drift. If your layers shift while you are punching, your holes will not line up on both sides, and you will end up with a crooked stitch line. Gluing first is the reliable way to prevent that, especially on longer seams.
What if the pieces bond in the wrong position?
With contact cement, repositioning after contact is very difficult. Your best option is to carefully peel the pieces apart from one corner, working slowly. You will likely damage the surface somewhat. Prevention is much easier than correction: align carefully before the surfaces touch.
How much glue zone do I need?
Match your glue zone to your intended stitch line plus a few millimeters of buffer. If you plan to stitch 4mm from the edge, apply glue across that 4mm band. Wider than necessary wastes adhesive and creates more cleanup.
Is the bond permanent?
Contact cement creates a bond strong enough that separating glued leather is destructive in most cases. Water-based glue is easier to release with water before it fully cures, and some water-based bonds can be softened with moisture later. For most projects, you want the bond to last. The thread is what will eventually wear out first.
Can I use super glue (cyanoacrylate) on leather?
Super glue works on leather in a pinch, but it tends to make the leather stiff in the bonded area, which can cause cracking over time. It also bonds skin instantly. Contact cement or water-based leather glue designed for the material will give you better results for anything you plan to stitch and carry regularly.