How to Bevel Leather Edges Before Finishing
Learn how to bevel leather edges cleanly before dyeing or finishing. A beginner's guide to tools, technique, and why this step matters.
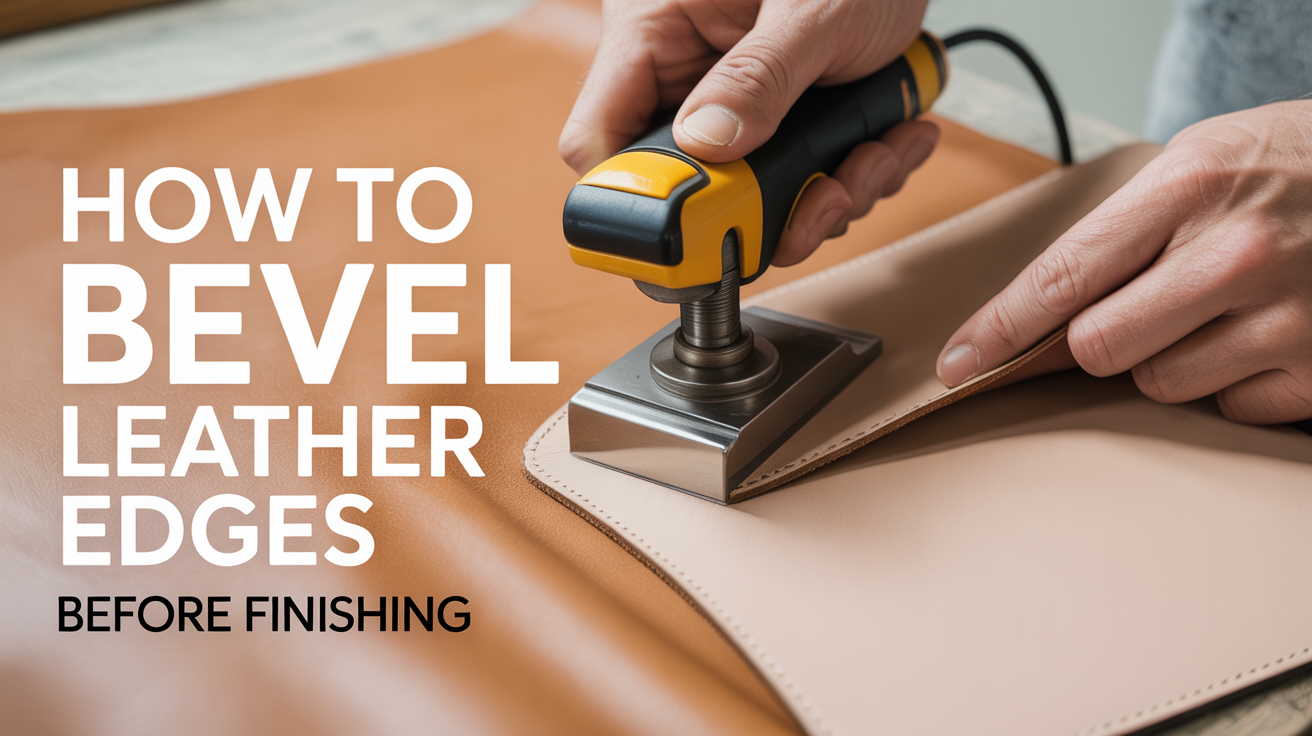
Beveling a leather edge takes less than a minute per piece, but it changes everything about how that edge looks and feels after finishing. Run an edge beveler along the top and bottom corners of a freshly cut piece and you remove the sharp right-angle lip that would otherwise fray, absorb dye unevenly, and stay rough no matter how much you burnish. This guide walks you through the tool, the motion, and where beveling fits in a real finishing sequence.
Why Bevel Leather Edges
A freshly cut leather edge has two sharp corners, one on the flesh side and one on the grain side. Left alone, those corners do a few things you don't want:
- They fray. The tight fibers at the corner are exposed and catch on everything.
- They resist burnishing. Burnishing rounds a corner through friction and pressure, but it can't reshape a right angle reliably. A pre-beveled edge gives burnishing a gentler starting point.
- They absorb dye and finish at a different rate than the face. You end up with dark, ragged-looking corners that contrast with the cleaner face.
Beveling removes just enough material to round those corners slightly. The result is a surface that takes dye evenly, responds to burnishing cleanly, and feels finished rather than raw.
Choosing an Edge Beveler for Beginners
An edge beveler looks like a small chisel with a curved, U-shaped blade. The blade has a groove on the underside that rides along the edge of the leather and curls off a thin sliver as you push.
Bevelers are sized by number, usually 0 through 4 or higher. Smaller numbers cut a narrower bevel; larger numbers cut a wider one. For most beginner projects using 2-4 oz or 3-5 oz leather, a size 1 or size 2 covers almost everything. Thicker leather (5-6 oz belt blanks, for example) can take a size 2 or 3 without looking overdone.
A few things to look for when buying:
| Feature | What to look for |
|---|---|
| Steel quality | High-carbon or stainless steel holds an edge longer |
| Handle fit | Should sit comfortably in a pencil-like grip |
| Blade sharpness | Many cheap bevelers arrive dull; a strop fixes this |
| Price | A decent beginner beveler costs $8-20; no need to spend more to start |
One note on sharpness: a dull beveler drags and tears instead of cutting cleanly. If yours skips or chatters, a few passes on a leather strop loaded with honing compound usually solves it. Sharp tools also reduce the force you need, which gives you more control.
How to Bevel Leather Edges: The Basic Motion
Before you start, make sure your piece is cut cleanly. Ragged edges from a dull knife will show through the bevel and make finishing harder. Once the cut is clean:
- Hold the beveler in your dominant hand, grip near the blade like you would a pencil.
- Place the tool at a 45-degree angle to the edge, with the groove sitting on the corner you want to remove.
- Push forward with steady, even pressure. Let the blade ride the edge rather than forcing it.
- Keep the angle consistent. Tilting the tool mid-stroke produces an uneven bevel.
- Overlap strokes slightly at the start of each new push to avoid ridges.
On a straight edge, a single smooth push the full length of the piece is ideal. On curves, shorter strokes work better. Inside curves can be tricky; slow down and keep checking that the groove stays seated on the corner.
Bevel the grain-side corner first, then flip the piece and bevel the flesh-side corner. Both sides need it. A common beginner mistake is beveling only the top.
When to Bevel in the Finishing Sequence
The order matters. Bevel before you dye, not after.
A typical finishing sequence for vegetable-tanned leather looks like this:
- Cut the piece to final shape
- Bevel the edges (now, before any finish)
- Dampen the edge slightly with water if the leather is very stiff
- Apply edge dye or a matching leather dye to the edge
- Let dry completely
- Apply an edge slicker or finish (gum tragacanth, tokonole, beeswax, or similar)
- Burnish with a wood slicker, canvas, or your fingernail
If you're dyeing the face of your piece, dye the face first, then edge-dye, then burnish. This prevents face dye from contaminating the edge or vice versa.
For a deeper dive on what happens after beveling, burnishing leather edges until they shine covers the burnishing step in full detail. And if you're choosing between edge slickers, gum tragacanth vs tokonole walks through the differences.
Common Mistakes and How to Fix Them
Uneven depth. If the bevel looks wider in some places and narrower in others, the tool angle shifted mid-stroke. Practice on scrap before moving to a finished piece. Holding your elbow steady rather than moving your wrist helps.
Skipping or dragging. Almost always a dull blade. A strop loaded with green or white honing compound takes care of this in a few strokes. If you've never stropped your beveler, do it before your next session.
Rounding too much on thick leather. A size 1 beveler on 8 oz leather barely registers. Move up a size. Conversely, a size 3 on thin 2 oz leather removes too much material and the edge can split.
Forgetting the flesh side. The flesh-side corner takes dye and burnish too. Beveling only the grain side leaves a visible corner at the back of the piece.
Beveling after dyeing. This strips dye from the corners and leaves lighter patches. Always bevel first.
Frequently Asked Questions
Do I need to bevel every piece of leather I work on? Not always. Suede, chrome-tanned leather, and soft garment leather don't respond to burnishing the same way, so edge beveling matters less for those. For vegetable-tanned leather on bags, belts, wallets, and straps, the answer is almost always yes.
Can I bevel with a skiver or a knife instead of a dedicated beveler? You can approximate a bevel with a sharp knife held at an angle, but it's harder to keep consistent depth. A dedicated edge beveler costs very little and makes the result repeatable, especially on curves.
How do I know if I've removed too much material? If the bevel takes up more than roughly a third of the edge thickness, you've gone too deep. On a 3 oz piece (about 1.2 mm thick), the bevel should be a small chamfer, not a sweeping ramp. When in doubt, test on a scrap of the same leather first.
My beveler leaves a rough furrow instead of a clean slice. What's wrong? The blade is dull or the angle is off. Try stropping the blade and then running a test stroke on scrap at a consistent 45 degrees. A clean beveler stroke produces a thin curl of leather that falls away easily.
Does beveling work on both sides of the edge? Yes. Both the grain-side and flesh-side corners need to be beveled. The groove on the underside of the blade seats on the corner; just flip the piece over to do the second side.