How to Apply Edge Paint to Leather
Learn how to apply edge paint to leather step by step. Covers prep, tools, layering technique, and when to choose paint over burnishing.
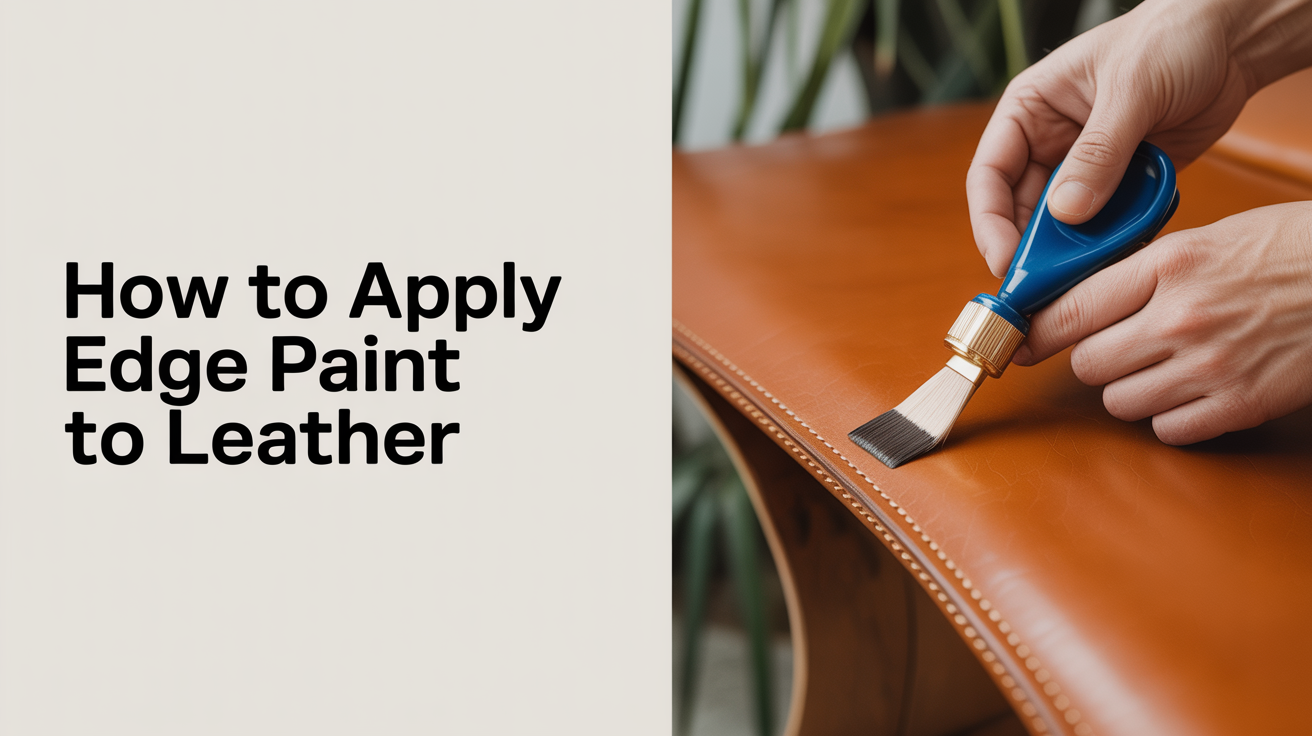
Edge paint gives leather edges a smooth, durable, colored finish that burnishing alone cannot match. If you are working with chrome-tanned leather, split leather, or any hide that resists burnishing, paint is often the right call. This guide walks through the full process so your first application comes out clean rather than gloppy.
Edge Paint vs Burnishing: Which Do You Need?
Before you open a bottle, it helps to know what each method actually does.
Burnishing uses friction and moisture to compress the leather fibers into a hard, polished edge. It works best on vegetable-tanned leather and leaves a natural finish. The trade-off is that it takes practice, it can go wrong on thin leather, and it does not add color.
Edge paint fills and seals the edge with a flexible coating. It works on almost any leather type, adds color precisely, and builds a harder shell over the edge. The trade-off is that paint can crack if applied too thick or if the leather bends repeatedly in the same spot.
Neither is strictly better. Many crafters burnish first and paint on top for the tightest finish. If you are newer to finishing, start with paint on a scrap piece and see how it handles on your specific leather before committing to a project.
For slickers and finishing compounds used in the burnishing step, this comparison of gum tragacanth and Tokonole covers the main options.
Tools and Materials You Need
Gather these before you start:
- Edge paint (Fenice, Unitop, or similar flexible paint)
- Edge beveler (size 1 or 2 depending on leather thickness)
- Medium-grit sandpaper (220 to 320 grit) and fine sanding stick or board
- Edge applicator or roller (a grooved wooden roller or the cap of a pen works in a pinch)
- Small bristle brush or spatula for thicker paint formulations
- Clean cloth or paper towel
- Water for thinning if needed
A note on brands: Fenice edge paint is widely used and comes in a range of colors with good flexibility. It is not the only option, but it is a reasonable starting point for beginners because it flows well and dries with a semi-gloss finish. Whatever brand you use, read its specific dry time and thinning instructions because they vary.
Preparing the Edge Before Painting
Preparation matters more than the paint itself. A rough or uneven edge will show through any finish.
- Bevel the edge. Run an edge beveler along both top and bottom edges of the leather. This removes the sharp corner and gives the paint something curved to sit on rather than a raw right angle.
- Sand progressively. Start with 220-grit sandpaper and work along the edge in one direction. Then step up to 320-grit and repeat. The goal is a smooth, even surface with no fraying fibers sticking out.
- Remove dust. Wipe the edge clean with a lightly damp cloth and let it dry fully. Paint applied over dust or moisture will not adhere properly.
- Optional: Apply a base coat of edge dye. If you are painting over a light-colored edge and using a dark paint, a matching base dye can improve coverage. For most beginner projects, skipping this step is fine.
If your project involves any dyeing of the leather face, do that before finishing the edges. Dye overspray or runoff onto freshly painted edges will lift the paint.
Applying Edge Paint in Thin Layers
The most common beginner mistake is applying too much paint in one pass. Thick layers crack and peel. Thin, successive layers build a strong, flexible coat.
First coat: Load a small amount of paint onto your applicator. Pull it smoothly along the edge in one continuous stroke per section. The goal is a thin, even coat that soaks into the surface. It will look incomplete, and that is normal.
Let it dry fully. Drying time depends on humidity and paint brand, but 10 to 20 minutes is typical for a thin coat.
Light sand between coats: Once dry, run a fine sanding stick (400-grit or a piece of 400-grit wrapped around a dowel) lightly along the edge. This knocks down any texture or brush marks before the next coat goes on. Wipe away the dust.
Second and third coats: Repeat the process. Most edges look good after two or three thin coats. Stop when the color looks solid and the edge feels smooth under your finger.
Final coat: For the last coat, some crafters add a small amount of water (5 to 10 percent) to thin the paint slightly. This can help it self-level and reduce visible brush strokes. Test this on a scrap piece with your specific paint before trying it on a project.
Working on Curved and Corner Edges
Straight edges are the easiest. Corners and tight curves need a bit more attention.
On sharp corners, apply paint with a small brush rather than a roller. Work paint into the corner in small strokes and let each one dry before adding more. Rushing corners is where drips and build-up happen.
On curved edges (like a wallet with rounded corners), keep your strokes short and follow the curve rather than fighting it. A grooved roller that cradles the edge naturally handles curves better than a flat applicator.
Troubleshooting Common Problems
| Problem | Likely cause | Fix |
|---|---|---|
| Paint cracking after drying | Applied too thick | Sand back and reapply in thinner coats |
| Bubbling or peeling | Edge surface was dirty or damp | Remove paint, re-prep, and reapply |
| Uneven color coverage | Inconsistent stroke pressure | Sand lightly and add another thin coat |
| Paint seeping onto the face | Applicator overloaded | Use less paint per stroke, wipe excess immediately |
| Gummy finish that never hardens | Humidity too high or brand-specific issue | Work in a drier space, check paint's working conditions |
If paint gets onto the leather face before it dries, remove it immediately with a damp cloth. If it dries on the face, careful use of a damp cotton swab on the edge of the mark can minimize it, but prevention is easier than correction.
Frequently Asked Questions
How many coats of edge paint does leather need? Two to three thin coats is the practical range for most projects. Thinner or more porous leather may need an extra coat. Aim for full, even color rather than a specific number of passes.
Can I use edge paint on chrome-tanned leather? Yes. Edge paint works on chrome-tanned leather where burnishing often fails because the fibers do not compress the same way. This is one of the main reasons to reach for paint instead of burnishing for chrome-tan work.
Is edge paint the same as edge dye? No. Edge dye penetrates the leather fibers and colors them but leaves the surface texture exposed. Edge paint sits on top and builds a coating. Paint gives a more opaque, uniform result and is more protective, but it is less natural-looking than a dyed edge.
How do I stop edge paint from cracking on a wallet or fold? Use a flexible paint formulated for leather (most brands marketed specifically for leather edges are flexible when cured). Apply in thin coats, and avoid building up excessive thickness at points that fold repeatedly. If cracking happens anyway, lightly sand the area and reapply one thin coat.
Do I need to seal edge paint after it dries? Most leather edge paints are self-sealing once cured, and a top coat is not required. If you want extra durability or a specific sheen, a thin layer of leather finish or resolene can go over the paint after it is fully dry, but test it on a scrap piece first to confirm compatibility.