Beginner Leatherworking Tools (and What You Can Skip)
The essential leatherworking tools for beginners — plus the gear you can skip until your skills actually need it. Honest starter kit guide.
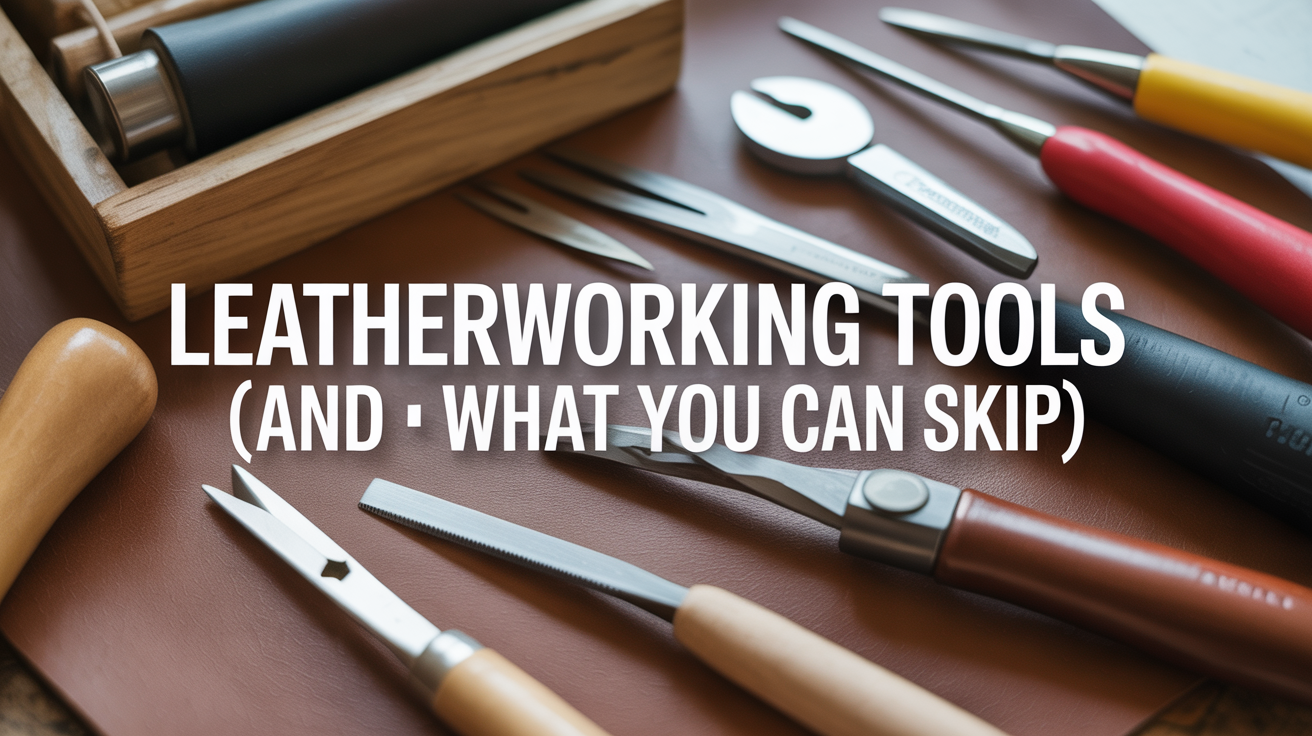
You need fewer tools than the leathercraft forums suggest. A sharp knife, something to punch holes, two needles, and thread will get you through your first dozen projects. The rest can wait until you know what you actually want to make.
The Genuine Starter Kit
This is the list that gets you stitching real leather this week without a cupboard of tools you might never open.
Cutting Tools
Craft knife or round knife ($15–40). You'll cut leather on almost every project, so this matters more than almost anything else. A craft knife with replaceable blades (Olfa or similar) works well when you're starting out. A round knife gives more control on curves once you've practiced. Either way: keep it sharp. Dull blades tear leather and cause the hand to slip.
Cutting mat ($15–25). Self-healing mats protect your work surface and give you a consistent backstop for cuts. Get at least an A3 size. A kitchen cutting board is not a substitute; it will blunt your knife in a single session.
Steel ruler ($10–20). For straight cuts and scoring lines. Aluminum bends under pressure; steel doesn't. A 30–45 cm length handles most wallet and strap projects.
Stitching Tools
Leather is stitched differently from fabric. You use two needles and a pre-punched stitch line, running both needles through each hole in a saddle-stitch pattern. That means you need to punch the holes first.
Diamond chisels or pricking irons ($20–50 for a set). These punch angled holes that produce the classic leaned stitch. A 4-prong chisel handles straight runs; a 2-prong (or single awl tip) handles corners. Spacing is usually 3 mm or 4 mm. The 4 mm spacing is more forgiving for beginners.
Stitching awl ($8–20). Useful for poking through holes the chisel can't reach, or for running a stitch line on thicker leather. If budget is tight you can start with just an awl and skip the chisels entirely, though the chisels give cleaner, more consistent spacing.
Two harness needles ($5–10 for a pack). Blunt-tipped and heavy, made to pass through pre-punched holes without splitting the thread. One needle on each end of your thread length.
Waxed linen or polyester thread ($8–20). Pre-waxed thread at 0.8 mm is a good starting thickness. You can wax your own thread with beeswax if you buy unwaxed linen, but starting with pre-waxed removes one variable while you're learning everything else.
Shaping and Finishing Tools
Bone folder ($5–15). Burnishes folds and helps form clean creases without pressing a visible line into the grain. Also useful for laying flat a glued edge before stitching. A wooden folder works too; bone is more durable.
Edge beveler ($8–20). Trims the sharp corner off a cut edge before finishing. A size #2 covers most projects. This is a tool you'll use on every single piece, so it's worth buying rather than improvising.
Wood slicker or canvas scrap ($5–15 or free). Run this along a dampened leather edge with some beeswax or gum tragacanth to burnish a smooth finish. A tight-rolled canvas scrap works nearly as well as a wood slicker. Start with that.
Adhesives
Contact cement ($10–20). Applied to both surfaces, let slightly dry, then pressed together for an instant bond. Used for laminating layers, holding edges before stitching, and closing linings. Barge and Renia are common brands. Work in a ventilated space.
Striking Tools
Mallet or maul ($20–40). You'll drive chisels and stamps with this. A weighted leather maul is quieter on the table than a wooden mallet and easier on the wrists. If your workspace is upstairs or you're noise-conscious, the maul is the better choice. A rubber mallet from a hardware store works at a pinch.
Buy First vs. Skip For Now
| Tool | Buy first? | Notes |
|---|---|---|
| Craft knife + spare blades | Yes | Replaceable blades are essential |
| Self-healing cutting mat (A3+) | Yes | Don't skip this |
| Steel ruler (30–45 cm) | Yes | Not aluminum |
| Diamond chisels or pricking irons | Yes | 4 mm spacing is beginner-friendly |
| Two harness needles | Yes | Buy a pack |
| Waxed thread (0.8 mm) | Yes | Pre-waxed to start |
| Contact cement | Yes | Small tin is enough |
| Edge beveler (#2) | Yes | You'll use it constantly |
| Bone folder | Yes | Wood or bone, both fine |
| Wood slicker | Later | Canvas scrap works fine at first |
| Stitching pony or clam | Later | Helpful but not essential |
| Stamps and embossing sets | Later | Build skills before decoration |
| Skiving knife | Later | Learn to split leather when you need thinner joins |
| Edge paint or wax finish | Later | Start with burnishing |
| Leather-rated sewing machine | Much later | Not a beginner tool |
| Premium full-tool sets ($150+) | Skip | Buy pieces as you need them |
What Beginners Waste Money On
The leathercraft world sells a lot of things that feel necessary and aren't. Here's where the money typically disappears.
Expensive Stitching Ponies
A stitching pony holds your work while you stitch, freeing both hands. It's genuinely useful. But a $15 wooden pony from a craft store does the same job as a $120 hand-crafted one. Worse, many beginners spend on the fancy hardware and then find they prefer stitching freehand on a folded towel. Start cheap; upgrade once you know you want one.
Large Stamp Sets
Decorative stamping looks beautiful on finished wallets and belts. The problem is that stamps only work well on vegetable-tanned leather at the right moisture level, with the right striking force, after you've practiced enough to space them evenly. Buying a 50-piece set before you've completed a project means most of those stamps sit untouched. Pick up two or three individual stamps when you're ready to experiment.
Full "Starter Kits" from Mass Retailers
Some online retailers sell 40-piece leathercraft kits for $50–80. The quality is wildly inconsistent: a kit might include a decent awl and a craft knife that won't hold an edge for ten minutes, plus tools you won't use for years. You'll end up replacing most of it. Six good individual tools beat forty mediocre ones.
Leather Sewing Machines
A leather-rated sewing machine runs $400–1,500 and up. It makes sense in production work, once you're making bags in volume or running repetitive work on heavy leather. For a beginner, hand-stitching is the right approach. Saddle-stitch is actually stronger than most machine stitches and it teaches you to think about tension and hole placement in ways that matter throughout leathercraft.
Premium Tools Before Your Skills Can Use Them
There are beautiful tools out there: Japanese pricking irons, French round knives, handmade mallets. They genuinely perform better. But a beginner with $20 diamond chisels and a craft knife won't produce better work with $200 equivalents. The premium buys make sense once you've made enough pieces to feel exactly what a tool is doing wrong.
Setting Up Your First Workspace
You don't need a dedicated workshop. The main things are a hard, stable surface (kitchen table or workbench), good overhead light, and ventilation for contact cement and any finishes. A granite or marble slab ($10–20 from a tile shop) placed on top of your mat gives you a solid base for stamping and chisels.
For more on laying out a functional beginner workspace, see our guide on how to set up a small leatherwork bench at home.
Where to Buy Your First Tools
General craft stores carry knives, mats, and rulers. Specialist leather suppliers (Tandy, Rocky Mountain Leather, Abbey England, Maverick Leather) stock chisels, harness needles, thread, and edge tools at better quality than mass-market alternatives. Online ordering is fine for most things; for a knife, holding it before buying is worth the trip to a physical store if you have one nearby.
If you want to understand the full picture before you shop, the complete beginner's guide to leathercraft covers materials alongside tools.
FAQ
How much does a basic beginner leather tool kit cost?
Buying individual tools from a leather supplier, expect to spend $80–130 for the genuine essentials: knife, mat, ruler, chisels, needles, thread, contact cement, edge beveler, bone folder, and a mallet. You can start for less by using a canvas scrap instead of a slicker and skipping the beveler initially, but the beveler is cheap enough that it's worth including.
Do I need vegetable-tanned leather to practice with these tools?
For stitching and cutting practice, yes. Vegetable-tanned leather holds its shape, responds well to chisels and bevelers, and burnishes cleanly. Chrome-tanned leather (most garment and bag leathers) is softer and doesn't respond the same way to most of these techniques. Pick up a small piece of 3–4 oz veg-tan to start; it's the material these tools are designed for.
Can I use a regular stitching awl instead of diamond chisels?
A stitching awl punches a round hole; diamond chisels punch an angled diamond-shaped hole that gives the characteristic lean to hand-stitched leather. You can absolutely start with just an awl. The visual difference in the stitch line is real once you compare them side-by-side, but for learning the saddle-stitch technique, an awl gets the job done. Our guide on what leathercraft for complete beginners really takes covers the learning curve honestly.
What leather thickness works with a basic kit?
2–4 oz (roughly 0.8–1.6 mm) is the easiest range for beginners. It cuts cleanly with a craft knife, chisels punch through without heavy mallet strikes, and it's forgiving on edges. Heavier leather (6–8 oz, used for belts and soles) needs more force and is harder to skive. Start with 2–4 oz veg-tan for wallets and small goods.
Is a mallet really necessary, or can I use a hammer?
A metal hammer transmits too much force unpredictably and will damage chisels and stamps over time. A mallet (wood, rubber, or leather-filled) gives you controlled, consistent strikes. A rubber mallet from a hardware store ($10–15) works well enough to start. If you're working in a shared space or on a table that doesn't like vibration, a leather maul cuts the impact sound noticeably.