5 Beginner Leather Projects to Build Your First Skills
Five simple leathercraft projects that teach real skills, from a coin pouch to a belt, with what you'll need and how to approach each one.
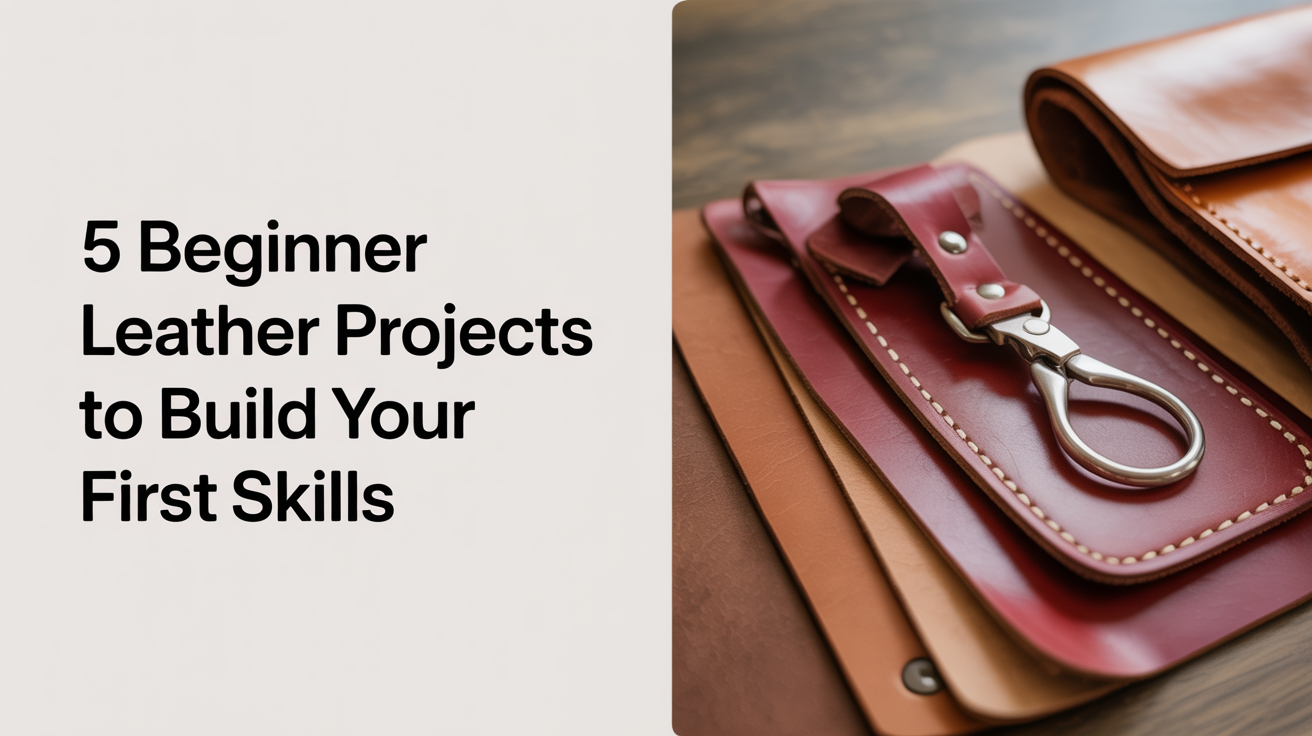
If you're new to leathercraft, the fastest way to build confidence is to make something small and useful. The five projects below are genuine first leather project ideas, not exercises. Each one is small enough to finish in an afternoon, inexpensive enough to practice on, and just challenging enough to teach you something that carries into every future project.
Before you pick one, read through our complete beginner's guide to leathercraft if you haven't already. It covers the basic toolkit and material choices in detail.
What Makes a Good First Project
A good starter project has a manageable size (less than a square foot of leather is ideal), a single layer or simple two-piece construction, and a clear finish line. Projects with hidden interiors, complex linings, or more than two rivets are better saved for month two.
You'll also want to choose vegetable-tanned leather (veg-tan) for most of these. It cuts cleanly, holds a burnished edge, and takes thread without fraying. Chrome-tan is softer but harder to work by hand, and exotic leathers are expensive practice material.
1. A Simple Coin Pouch
A coin pouch is one of the most common easy leather projects for beginners, and for good reason. It uses a single piece of leather folded in half, two stitched sides, and a snap or magnetic closure. The entire project can be cut from a scrap.
Skills you'll pick up: marking and cutting a clean straight line, setting a snap, and running a consistent saddle stitch. The saddle stitch is the fundamental technique in hand leatherwork. Once you can do it in a straight line, you can do it anywhere. See what leathercraft really takes as a complete beginner for a realistic sense of how long the stitch takes to learn.
What you need: one 4x8 inch piece of 2-3 oz veg-tan, two needles, waxed thread, a stitching chisel or pricking iron, a snap setter, and a bone folder or edge beveler.
2. A Keychain Fob
This is the smallest project on the list, and it teaches precision more than any other. A keychain fob is a strip of leather folded around a key ring, with a couple of stitches or a rivet holding it closed. Because it's so small, every millimeter of off-center cutting shows.
Skills you'll pick up: cutting to a precise measurement, setting a rivet, and finishing a cut edge by burnishing with a wooden slicker and a dab of beeswax or tokonole. A well-burnished edge is the difference between something that looks handmade in the best sense and something that looks rough.
What you need: a 1x4 inch scrap, a key ring, one copper rivet, a rivet setter and anvil, and a slicker or wooden dowel for burnishing.
3. A Belt
A belt sounds ambitious, but it's actually one of the simplest leathercraft projects in terms of technique. You're making one long straight cut, punching holes, setting a buckle, and finishing the edges. There's no stitching unless you want it.
What makes it challenging is length and consistency. A belt is 36 to 44 inches long. Any wavering in your cut, any uneven spacing in your punch holes, will be visible in normal wear. That's the lesson: working at scale.
What you need: a belt blank (pre-cut blanks are available and worth buying for a first belt), a buckle, a leather punch or rotary punch, and something to hold the buckle fold in place (a Chicago screw works well here).
A word on tools: you don't need to buy everything at once. The beginner leatherworking tools guide breaks down what's essential versus what you can skip at the start.
4. A Card Wallet
A card wallet uses two pieces of leather and a few stitched seams. It holds credit cards, business cards, or folded cash and fits in a front pocket. The challenge is keeping the pieces aligned during stitching and producing consistent tension across the whole seam.
Skills you'll pick up: working with two layers of leather, using rubber cement or contact cement to tack pieces before stitching (this prevents slipping), and controlling stitch tension from start to finish. Uneven tension is one of the most common issues new leathercrafters face, and a card wallet is short enough to fix it without wasting much material.
What you need: two 3.5x4 inch pieces of 2 oz leather, stitching chisel, two needles, waxed thread, and cement for tacking.
5. A Notebook Cover
A notebook cover is the most practical project on this list. You cut a single piece of leather to wrap a standard pocket notebook (like a Field Notes or Leuchtturm), fold the ends to create sleeve pockets for the covers, and stitch the spine edges. No hardware required unless you want a closure.
Skills you'll pick up: measuring from a physical object rather than a fixed template, cutting a larger piece accurately, and working with folds. The folds need to be creased cleanly with a bone folder so the cover sits flat. Sloppy folds show every time you open the notebook.
What you need: one piece of 3-4 oz leather sized to your specific notebook (measure twice, cut once), a bone folder, and a stitching chisel if you want stitched spine edges.
Project Difficulty at a Glance
| Project | Approx. Time | Key Technique | Leather Needed |
|---|---|---|---|
| Coin pouch | 2-3 hours | Saddle stitch | 4x8 in scrap |
| Keychain fob | 30-60 min | Riveting, edge burnish | 1x4 in scrap |
| Belt | 2-4 hours | Long cuts, punch spacing | Belt blank |
| Card wallet | 2-4 hours | Two-layer alignment | Two 3.5x4 in pieces |
| Notebook cover | 3-5 hours | Measuring, clean folds | One larger piece |
How to Progress Between Projects
Start with the fob or coin pouch. Once you can cut a straight line with a ruler and utility knife and run a saddle stitch without the thread pulling unevenly, move to the card wallet. The belt and notebook cover follow naturally from there.
Don't try to rush the stitching. A ragged saddle stitch on an otherwise well-cut piece is still a ragged piece. Slow down on your first few holes, keep thread tension consistent, and you'll improve faster than pushing through at speed.
Frequently Asked Questions
What leather thickness should I use for beginner projects? For most of these simple leathercraft projects, 2-3 oz leather (roughly 0.8-1.2 mm thick) is ideal. It's thin enough to fold cleanly for a coin pouch or card wallet but substantial enough to cut with a steady hand. A belt calls for 8-10 oz (3.2-4 mm) for structure and durability.
Can I do these projects without a stitching chisel? You can use an awl to punch holes individually, but a stitching chisel spaces holes evenly and faster. For a keychain fob, an awl is fine. For anything longer, a 2-4 mm pricking iron or stitching chisel will save you significant time and produce more consistent results.
How do I keep leather from slipping while I stitch two pieces together? Apply a thin bead of rubber cement or contact cement to both surfaces, let it dry for about a minute until tacky, then press the pieces together. This tacking hold keeps pieces from shifting during stitching without permanently bonding them the way a full glue application would.
What's the safest way to cut leather for a first project? Use a rotary cutter or a sharp utility knife with a new blade on a cutting mat. A dull blade drags and tears rather than cuts cleanly. Always cut against a metal ruler rather than a plastic one, and keep your fingers behind the blade. One firm pass is usually better than multiple light passes that wander.
Do I need to seal or finish the leather after the project is done? For veg-tan leather, a finish is recommended. Neatsfoot oil conditions the hide and extends its life. A finishing product like Resolene or a beeswax balm seals the surface and adds some water resistance. Apply both sparingly and buff after each coat dries.