How to Install Snaps and Press Studs in Leather
Learn how to install snaps in leather step by step: tools, sizing, setting technique, and how to avoid the most common beginner mistakes.
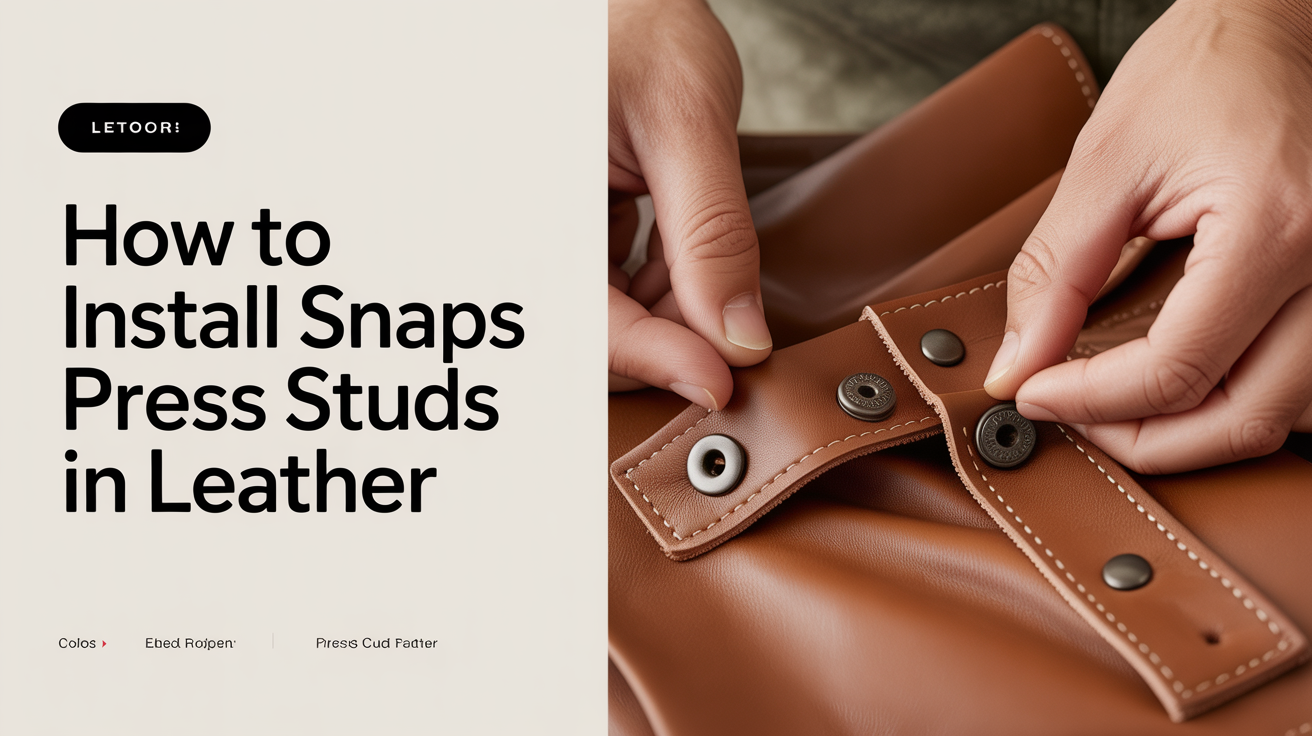
Snaps and press studs are among the most satisfying pieces of hardware to add to a leather project. Once set correctly, they click into place cleanly and hold firm for years. The process takes about two minutes per snap once you have your tools ready, but it does require a specific sequence. Miss a step or use the wrong setter and you end up with a crumpled cap or a post that spins freely.
This guide covers the full process: choosing the right snap size, marking and punching the hole, setting each part in the right order, and checking your work before you commit to a final piece.
What You Need Before You Start
Getting the right tools together matters more with snaps than with most leatherwork hardware. The setter is snap-specific, and using the wrong one damages the cap.
Tools and materials:
- Snap setter and anvil (matched to your snap size and style)
- Hole punch sized to your snap post diameter
- Mallet or maul (a poly or rawhide mallet works well; a steel hammer over a steel anvil is too aggressive)
- Scrap leather for testing
- Ruler or wing divider for consistent placement
- Cutting mat or a solid wood block beneath your work
Snap types: Most beginner-friendly projects use line 20 snaps or line 24 snaps. Line 20 snaps have a smaller post diameter and suit lighter leathers and thinner straps. Line 24 snaps are heavier and common on belts and bags. The number refers to the post diameter in hundredths of an inch, so check what line your setter and snaps are matched to before buying supplies.
Snaps come in four parts: cap, socket, post, and stud. The cap is the decorative face you see on the front. The socket is the piece that snaps onto the stud. The post sits on the back side of the front layer. The stud sits on the back layer.
How to Choose the Right Snap for Your Project
Snap selection depends on two things: the thickness of your leather and the functional load the snap will take.
For light decorative closures on a card wallet or a small pouch, line 20 snaps in a 10-12 oz leather are plenty. For bag flaps or belt loops that get opened and closed dozens of times per week, line 24 or even line 27 snaps in a heavier leather will last longer.
Leather weights and thicknesses affect how well a snap seats. If your leather is too thin, the post will pull through under tension. If it is too thick, the cap will not crimp properly and the snap will feel loose. As a rule, the combined thickness of the two layers being joined should sit within the snap's rated range, which the manufacturer typically lists as a millimeter measurement.
Chrome-tanned leather compresses more than vegetable-tanned leather under the setter, so the hole size that works perfectly in veg-tan may need to be slightly adjusted for chrome-tan. More on that in the comparison between vegetable-tanned and chrome-tanned leather.
Marking and Punching the Hole
Consistent snap placement starts with good marking. On a strap or flap, use a wing divider to score a center line and then mark the snap position along that line. For multiple snaps in a row, mark all positions before punching any of them.
The hole diameter should match the post shank closely. Too small and you force the post in, which distorts the leather and makes removal difficult later. Too large and the snap wobbles. Most line 20 posts need a 5/32" punch; line 24 posts typically need a 3/16" punch. Check the spec sheet for your specific snaps.
Punch on a cutting mat or a wooden block with the grain side facing up. Press straight down with steady force rather than rocking the punch. A clean hole matters because any tearing will weaken the leather around the snap.
Test on a scrap of the same leather first. This is not optional when you are new to setting snaps. It takes thirty seconds and will show you immediately if your hole is the right size and if your setter is adjusted correctly.
Setting the Snap: Step-by-Step
The setting sequence matters. The two halves of each layer are set separately before the layers are joined.
Front layer (cap and socket):
- Place the anvil on your work surface with the domed side facing up.
- Set the cap face-down into the concave recess of the anvil.
- Push the post shank through the hole from the back of the leather so it protrudes through the grain side and into the cap.
- Position the setter on the post. The setter has a small nub or cup that fits the post.
- Strike the setter with your mallet using two or three firm, centered blows. The post rolls outward over the back of the cap, locking it in place.
Back layer (stud):
- Push the stud up through the hole from the flesh side of the leather.
- Place the flat side of the anvil on your work surface.
- Rest the stud post on the flat anvil.
- Use the setter cup (opposite end from the cap setter on most combination tools) to crimp the stud post.
- Strike with the same firm, controlled blows.
Check both sides before pressing the snap together. The cap should sit flat against the grain. The socket and stud should have no wobble when you push them side to side.
Common Problems and How to Fix Them
| Problem | Likely Cause | Fix |
|---|---|---|
| Cap is dented or crushed | Wrong setter or anvil recess | Use the correct anvil cup; test on scrap first |
| Snap spins freely | Hole too large | Re-punch in a new location; patch if needed |
| Post pulls through under tension | Leather too thin | Add a backing washer or use a larger snap |
| Snap does not close with a click | Post under-set or misaligned | Reset with an additional strike; check alignment |
| Cap scratched on grain side | Cap placed directly on metal anvil | Always seat cap in the concave recess |
A snap that was set wrong usually cannot be rescued cleanly. Remove it with a seam ripper or a narrow chisel, then re-punch in a new spot at least 5mm away from the old hole.
Choosing Your First Hide for Snap-Heavy Projects
If you are planning a project with multiple snaps, the hide you start with affects the outcome. Shoulders and backs tend to be firmer and hold hardware well. Belly areas are stretchier and can allow snaps to pull over time.
Read through the guide on choosing your first hide before buying leather for a project with hardware. Selecting the right section of the hide can save a lot of frustration later.
Frequently Asked Questions
What is the difference between line 20 and line 24 snaps?
Line 20 snaps have a smaller post shank and are suited to lighter leathers and small projects like wallets and key fobs. Line 24 snaps are heavier and better for bags, belts, and anything that gets opened frequently. Always match your setter to the line size of your snaps.
Do I need a special setter, or can I use a generic one?
Each snap style and size requires a setter and anvil matched to it. A setter designed for line 24 will damage a line 20 cap. Some combination setter kits include multiple sizes on a single handle, which works fine. What does not work is improvising with a nail, bolt head, or random metal rod.
How do I remove a snap without destroying the leather?
Slide a flat seam ripper or a thin chisel under the rolled post from the back side. Work slowly and pry outward evenly around the circumference. There will usually be some distortion to the hole. Re-punch at a new location nearby rather than trying to reset in the same hole.
Can I install snaps on thin chrome-tanned leather?
Yes, but thin chrome-tan (2-3 oz) may not hold a snap securely on its own. A common fix is to glue a small backing piece of the same or heavier leather on the flesh side before punching, effectively doubling the thickness at the snap location.
My snap closes but does not click. What went wrong?
The socket and stud are probably not aligned or one was under-set. Under-setting leaves the post partially uncrimped, so it does not engage the socket fully. Try an additional firm strike. If that does not resolve it, remove the snap and reset it. A good snap has a distinct, crisp click when it closes.